A Comprehensive Guide to Trumbowyg: The WYSIWYG Editor for Web Developers


Trumbowyg is a lightweight and feature-rich WYSIWYG (What You See Is What You Get) Rich Text editor for web applications. There is a rich text editor demo version in the official github pages. All existing WYSIWYG editors are larger than 45kB. Trumbowyg is only 20kB which means faster page loading. Compatible with all recents browsers like IE9+, Chrome, Opera and Firefox.
Trumbowyg is often used in web development projects where a user-friendly text editor is required for content creation, such as in content management systems (CMS), online forums, and other web-based applications. It supports various features like formatting text, inserting images, creating links, and more.
In this article, we will learn about how to integrateTrumbowyg editor, how to insert images, links, audio and video files.
Getting Started
If we are building plain HTML Jquery web ui, then we can integrate the CDN as below:
<head>
<title>Your Web Page</title>
 <link rel="stylesheet" href="https://cdn.jsdelivr.net/npm/trumbowyg@2.26.0/dist/ui/trumbowyg.min.css">
<script src="https://code.jquery.com/jquery-3.6.4.min.js"></script>
<script src="https://cdn.jsdelivr.net/npm/trumbowyg@2.26.0/dist/trumbowyg.min.js"></script>
</head>
We can take the js and css files of the jquery rich text editor from github and add it our project. Github project repo of the jquery plugin is available here.
Through npm install also we can install the trumbowyg npm package and use that.
npm install trumbowygTo integrate in our html web UI project, it can be done by adding textarea in the html body tag. Then intialize the html block element with the jquery plugin trumbowyg function.
<script>
 $(document).ready(function() {
     $('#default-editor').trumbowyg();
});
     $('#reset-default-editor').click(function () {
      $('#default-editor').trumbowyg('empty');
      }); });
</script>
<body>
<textarea id="default-editor"></textarea>
<div id="default-editor"></div>
<button id="reset-default-editor">Reset</button>
</body>
Core Features
Now we will walkthrough the different options of the rich text jquery editor plugin.
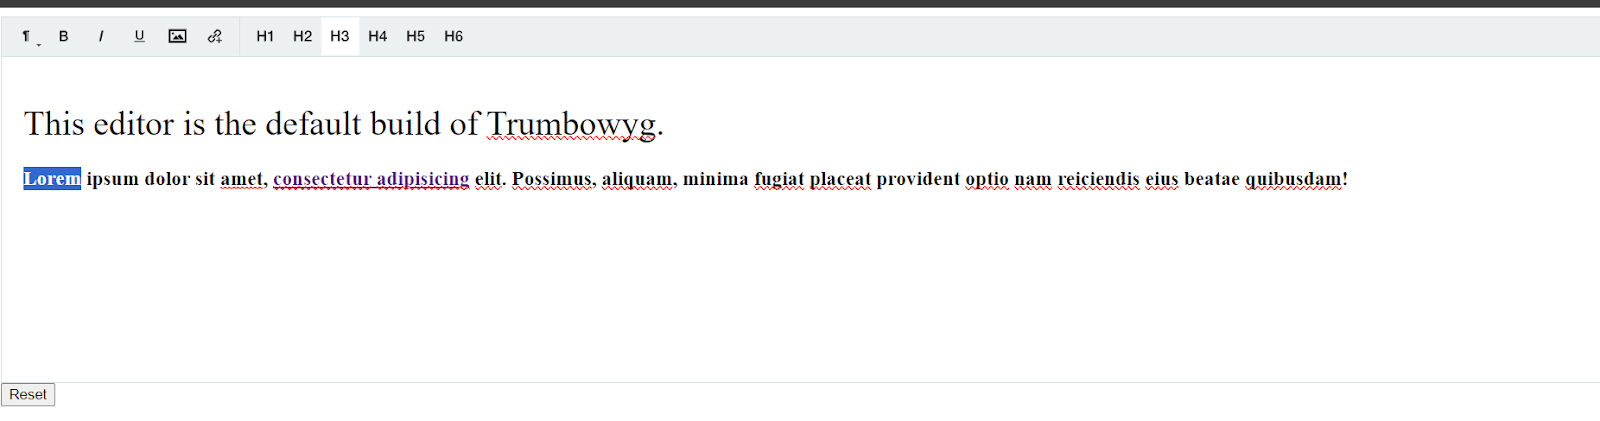
Media Insertion and hyperlinks
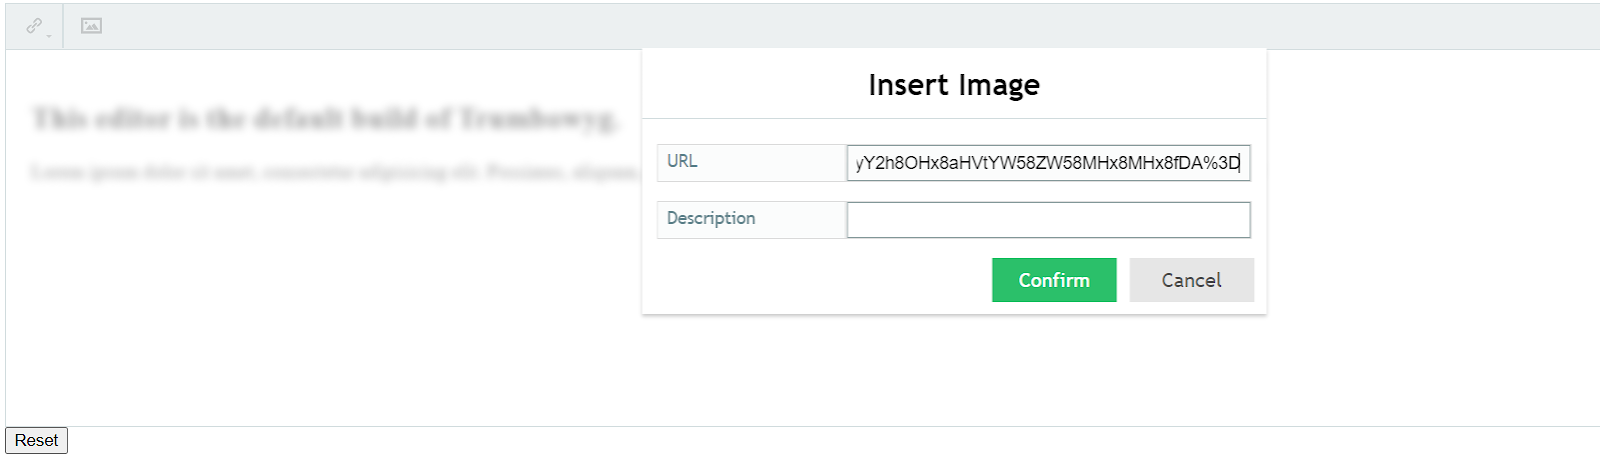
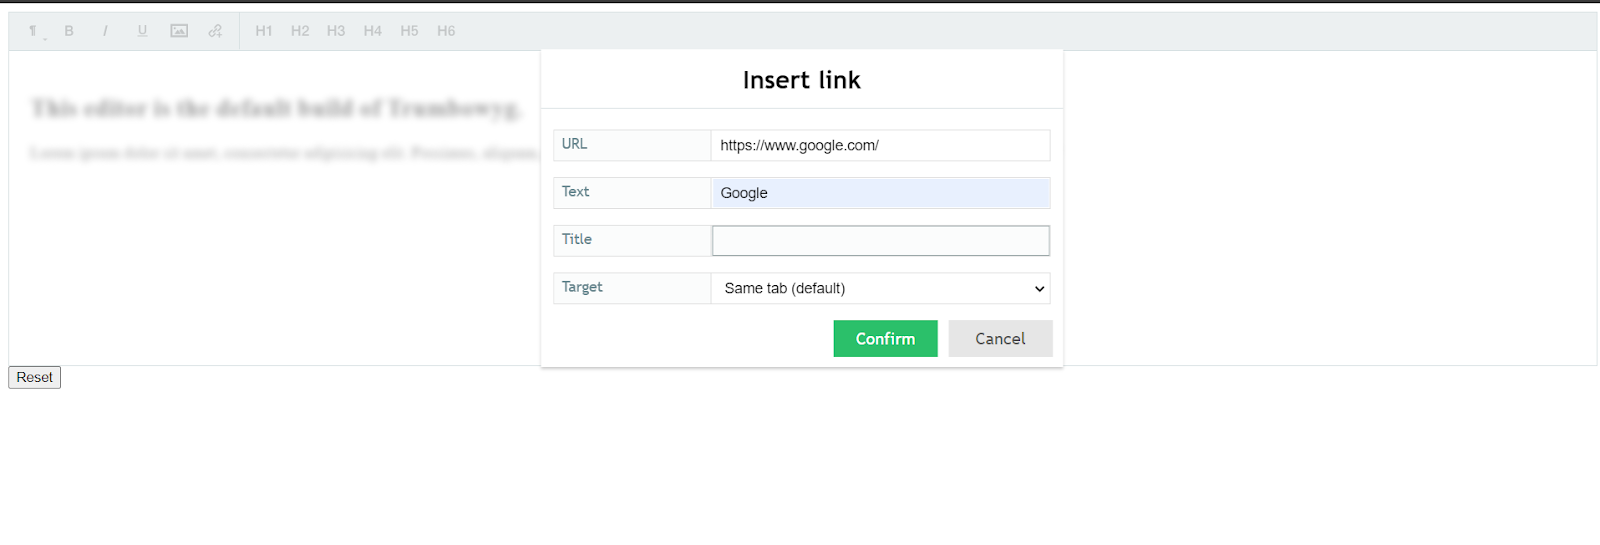
Inserting media like images and creating hyperlinks is straightforward those are added through buttons. Basic text formatting are also added as those text formatting keywords in the buttons array.
 $('#default-editor').trumbowyg(
     btns: ['bold', 'italic', 'underline', '|', 'insertImage', 'createLink']
});
Headings:
Apply different heading styles (h1 to h6) in the btns array options:
  $(document).ready(function () {
    $('#editor').trumbowyg({
      btns: ['formatting', '|', 'h1', 'h2', 'h3', 'h4', 'h5', 'h6']
    });
  });
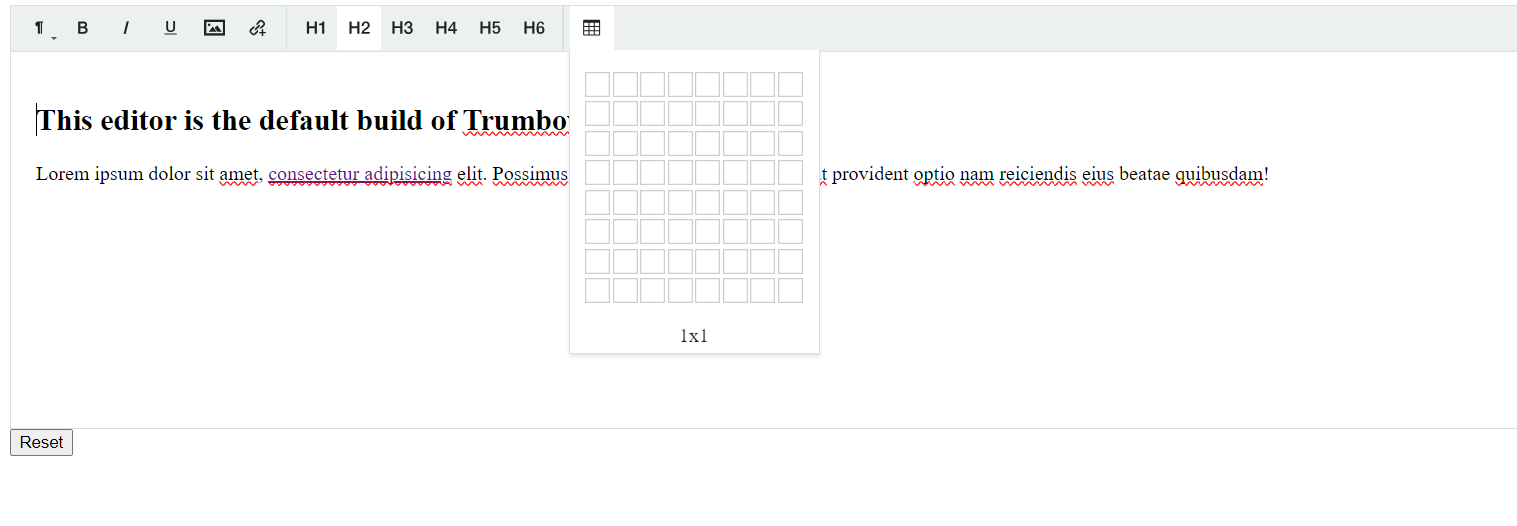
Tables:
Table plugin allows users to create and manage tables inside the rich text editor.
 $('#idtable').trumbowyg({
      btns: ['table','tableCellBackgroundColor', 'tableBorderColor'],

        plugins: {
          table: {
             styler: 'table',
         },
  },
  tagClasses: {
       table: 'table',
    },
});
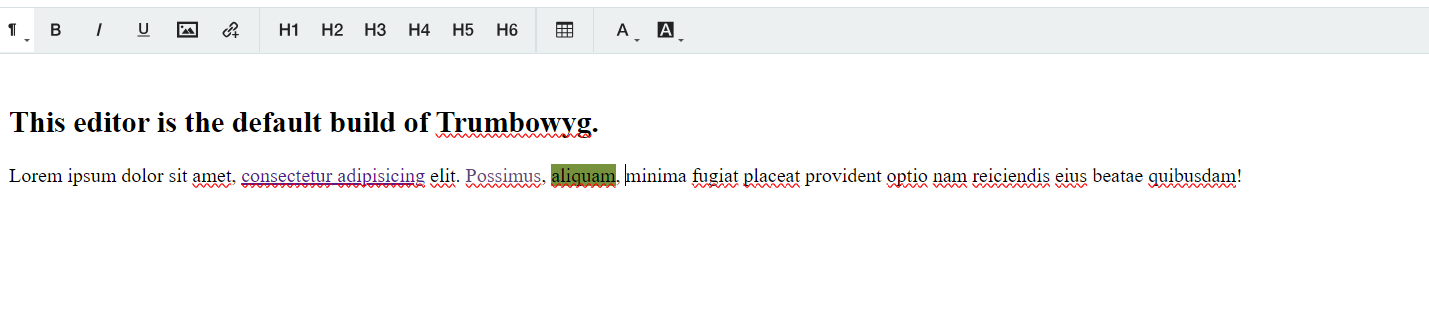
Colors:
Colors plugin allows you to change the foreground and background color of your text.
$('#default-editor).trumbowyg({

  btns: ['foreColor', 'backColor']

});
HTML Source code extractor
The "viewHTML" button allows users to switch between the WYSIWYG editor, where they can visually edit the content, and the HTML code view, where they can see and edit the raw HTML markup.
 <script>

$(document).ready(function () {

    $('#default-editor').trumbowyg({

      btns: ['viewHTML']

    });

  });

</script>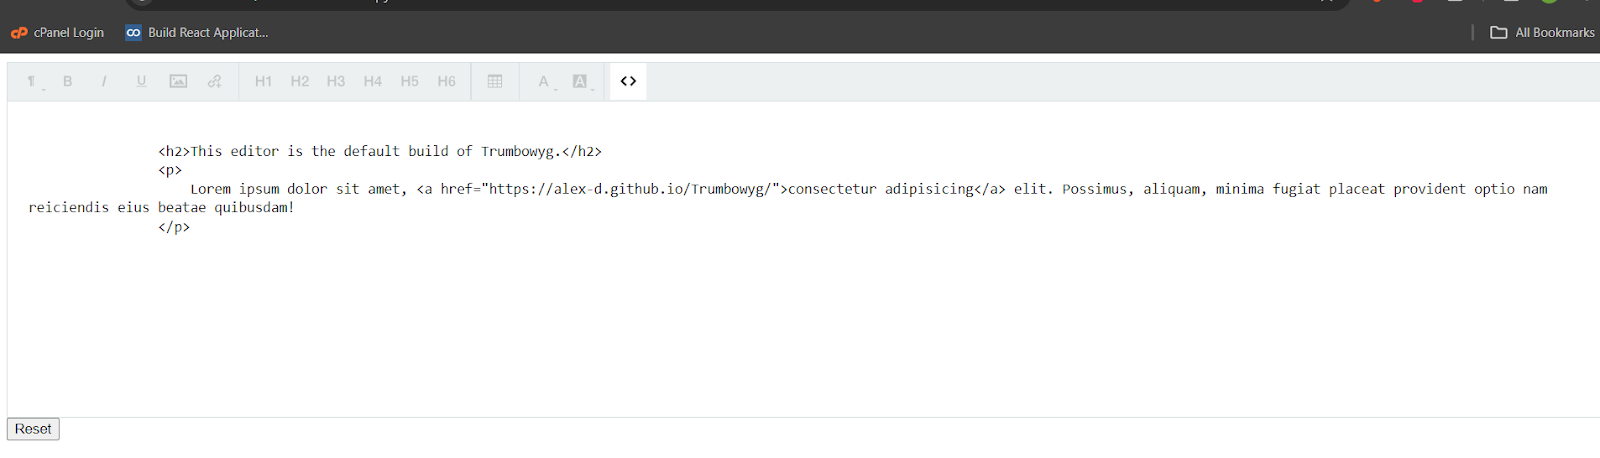
Clicking the "viewHTML" button again toggles back to the editor tool.
Fullscreen View
The "fullscreen" button is part of the Trumbowyg editor's toolbar.
Users can click the "fullscreen" button to toggle between fullscreen and regular modes, providing a more immersive editing experience.
<script>

  $(document).ready(function () {

    $('#editor').trumbowyg({

      btns: ['fullscreen']

    });

  });

</script>

  <script>

     $('#default-editor')

            .trumbowyg()

            .on('tbwinit tbwfocus tbwblur tbwchange tbwresize tbwpaste tbwopenfullscreen tbwclosefullscreen tbwclose', function(e){

                console.log(e.type);

            });

   </script>
It sets up event handlers for various Trumbowyg events, such as initialization (tbwinit), focus (tbwfocus), blur (tbwblur), change (tbwchange), resize (tbwresize), paste (tbwpaste), open fullscreen (tbwopenfullscreen), close fullscreen (tbwclosefullscreen), and close (tbwclose).
Export Options
Export as html file can be retrieved easily by calling the same trumbowyg with html parameter. Now create the blob object url and get the content as exported in html format.
$('#editor').trumbowyg();

            // Extract content as HTML
            $('#export-html').click(function () {
                var htmlContent = $('#editor').trumbowyg('html');
                downloadFile(htmlContent, 'content.html', 'text/html');
            });

// Function to download file
            function downloadFile(content, filename, contentType) {
                var blob = new Blob([ content ], { type: contentType });
                var url = window.URL.createObjectURL(blob);
                var a = document.createElement('a');
                a.href = url;
                a.download = filename;
                document.body.appendChild(a);
                a.click();
                document.body.removeChild(a);
            }
You can add the code for exporting HTML content to DOCX and triggering the download inside your HTML file. Here's how you can integrate it:
 let htmlContent = $('#default-editor').trumbowyg('html');

 let converted = htmlDocx.asBlob(htmlContent);

 $('#download-docs-btn').click(function () {

         saveAs(converted, 'document.docx');

});
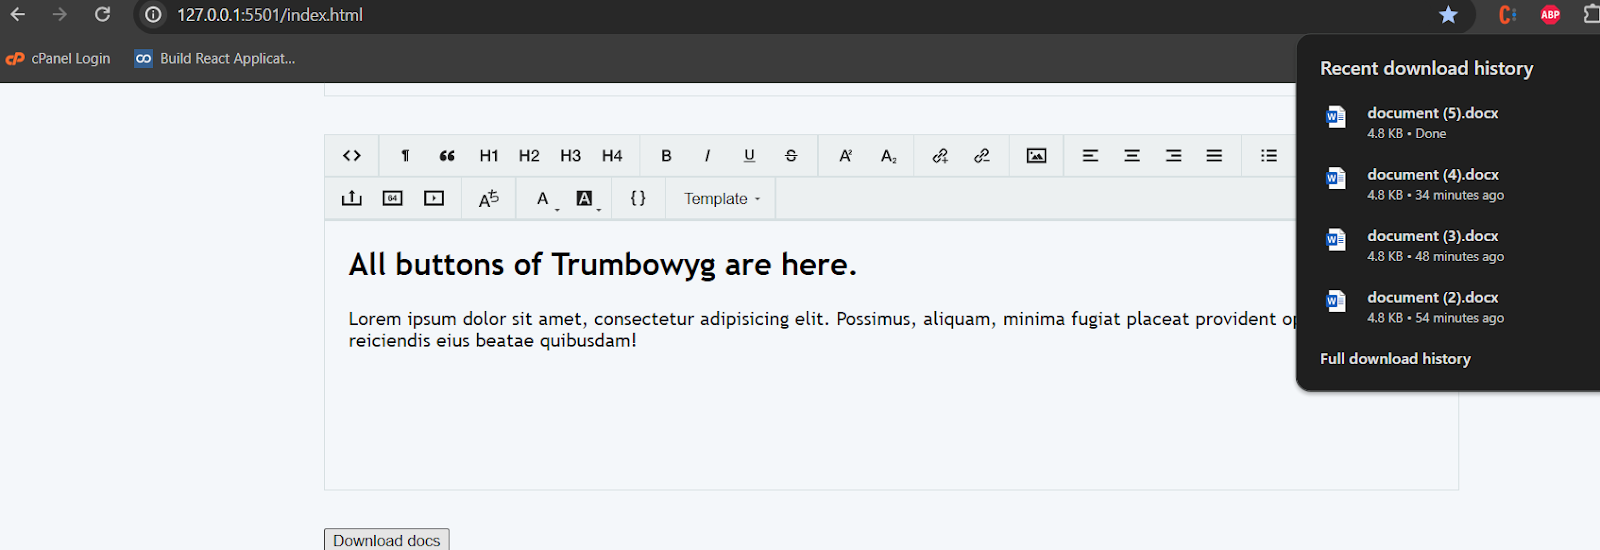
The $('#default-editor').trumbowyg(); initializes the Trumbowyg editor. The event listener on the "Download as DOCX" button fetches the HTML content from the Trumbowyg editor, converts it to DOCX using html-docx-js plugin, and triggers the download using saveAs.
Templates
The plugins object includes a templates property, configuring the Trumbowyg template plugin.
The templates property is an array of template objects, each with a name and html property.
After initialization, users can click the "template" button to see a dropdown menu containing the custom templates.
Selecting a template from the dropdown inserts the associated HTML content into the Trumbowyg editor.
<script>
     $('#templateid').trumbowyg({

      btns:  ['template'],
      plugins: {
        templates: [
            {
                 name: 'Template 1',
                html: '<p>I am a template!</p>'

            },
            {
                name: 'Template 2',
                html: '<p>I am a different template!</p>'
            }
        ]
    }

});

</script>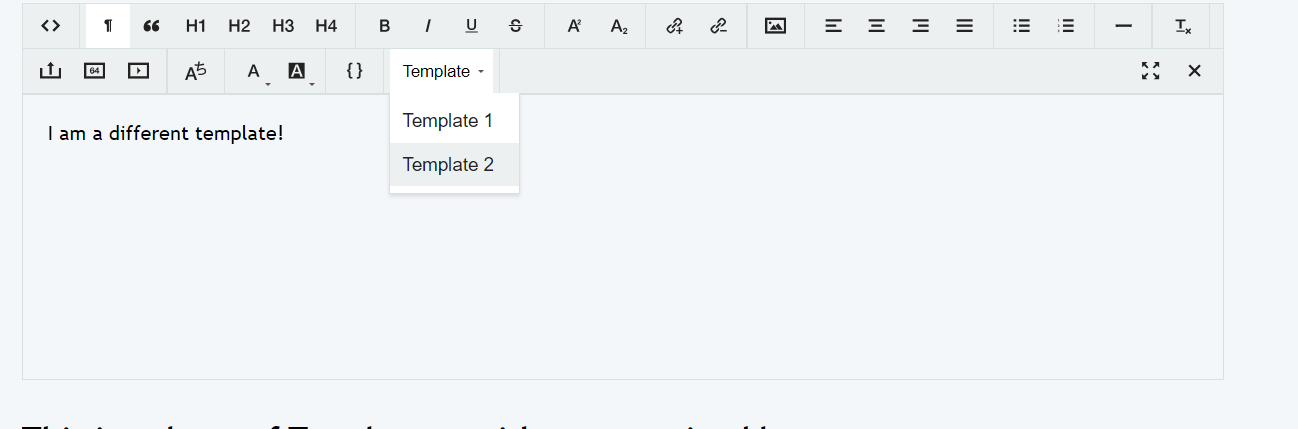
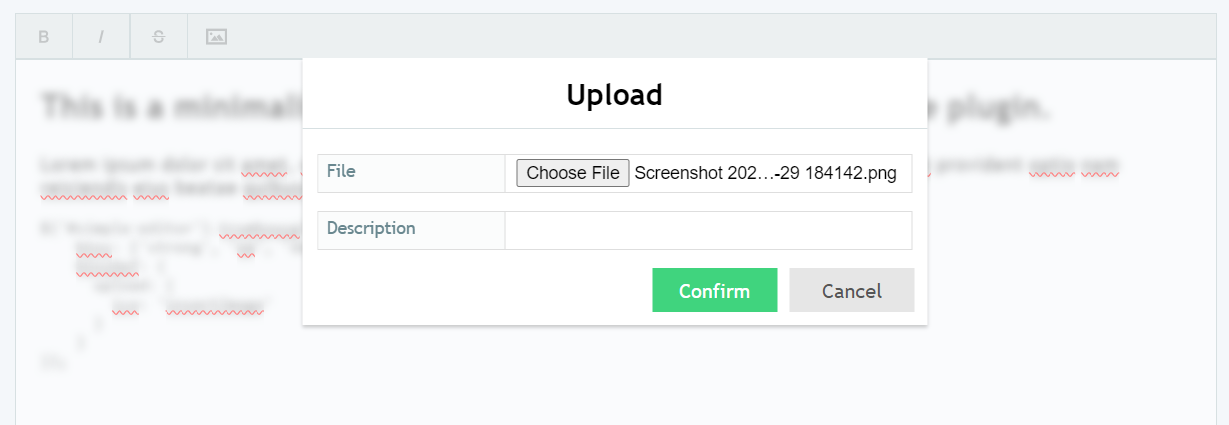
Upload Media Button
serverPath Property:The serverPath property specifies the server endpoint where the image file will be uploaded. In this case, it is set to https://api.imgur.com/3/image, indicating Imgur's API endpoint for image uploads.
fileFieldName Property: The fileFieldName property determines the name of the field that will contain the image file in the HTTP request. In this case, it is set to 'image', suggesting that the file will be sent using the field name 'image'.
headers Property:The headers property includes any additional headers that should be sent with the HTTP request for image upload. This is likely an Imgur-specific authorization header for API access.
urlPropertyName Property:The urlPropertyName property specifies the property in the server's response where the URL of the uploaded image can be found. In this case, it is set to 'data.link', indicating that the URL is expected to be in the 'link' property of the 'data' object in the server's response.
imageWidthModalEdit Property:The imageWidthModalEdit property is set to true. This could indicate that, when editing an image, the editor should display and allow modification of the image width.
$('#default-editor')
              .trumbowyg({
                btns: ['strong', 'em', 'del', 'upload'],
                btnsDef: {
                  upload: {
                    ico: 'insertImage',
                    title: 'insertImage'
                  }
                }
       });

            var uploadOptions = {
                serverPath: 'https://api.imgur.com/3/image',
                fileFieldName: 'image',
                headers: {'Authorization': 'Client-ID 9e57cb1c4791cea'},
                urlPropertyName: 'data.link',
                imageWidthModalEdit: true
            };
Audio and video upload
Add custom buttons for inserting video and audio elements to the Trumbowyg editor. Define these buttons in the btnsDef property.
  btnsDef: {
	insertVideo: {
	  fn: function () {
		var url = prompt('Enter the video URL:');
		if (url) {
			if (url.includes('youtube.com') || url.includes('youtu.be')) {
				var youtubeEmbed =
					'<div class="embed-container"><iframe width="640" height="360" src="'
					  + getYouTubeEmbedUrl(url)
					  + '" frameborder="0" allowfullscreen></iframe></div>';
				 $('#simple-editor').trumbowyg('html', youtubeEmbed);
		}
		else{
			var videoHtml = '<video controls width="640" height="360">';
			videoHtml += '<source src="' + url + '" type="video/mp4">';
			videoHtml += '</video>';

			$('#simple-editor').trumbowyg('html', videoHtml);
				videojs('my-video');
			}
       }
  },
  ico: 'upload',
  title: 'upload Video'
 },
 insertAudio: {
     fn: function () {

		var url = prompt('Enter the audio URL:');
		if (url !== null && url !== "") {
			var audioHtml = '<audio controls>';
			audioHtml += '<source src="' + url + '" type="audio/mp3">';
			audioHtml += '</audio>';


.       $('#simple-editor').trumbowyg('html', audioHtml);
     }},
		ico: 'insertAudio',
		title: 'Insert Audio'
	},
	insertLocalVideo: {
		ico: 'upload',
		title: 'upload  local Video'
	},
	insertLocalAudio: {
		title: 'Insert Local Audio',
		ico:'insertAudio'
    },
 },

   $('#video-input').on('change', function (event) {
		let file = event.target.files[0];

		if (file) {
			let reader = new FileReader();
			reader.onload = function (e) {

			let videoHtml = '<video controls width="640" height="360">';
			videoHtml += '<source src="' + e.target.result + '" type="video/mp4">';
			videoHtml += '</video>';

			$('#default-editor').trumbowyg('html', videoHtml);
			videojs('my-video');
         };

		reader.readAsDataURL(file);
       }
  });

  function getYouTubeEmbedUrl(url) {
    let videoId = url.split('v=')[1];
    let ampersandPosition = videoId.indexOf('&');
    if (ampersandPosition !== -1) {
        videoId = videoId.substring(0, ampersandPosition);
    }
    return 'https://www.youtube.com/embed/' + videoId;
   }

   $('#audio-input').on('change', function (event) {
        let file = event.target.files[0];
        if (file) {
			let reader = new FileReader();
                reader.onload = function (e) {
                    let audioHtml = '<audio controls>';
                    audioHtml += '<source src="' + e.target.result + '" type="audio/mp3">';
                    audioHtml += '</audio>';
                    $('#simple-editor').trumbowyg('html', audioHtml);

                };
                reader.readAsDataURL(file);
            }
        });
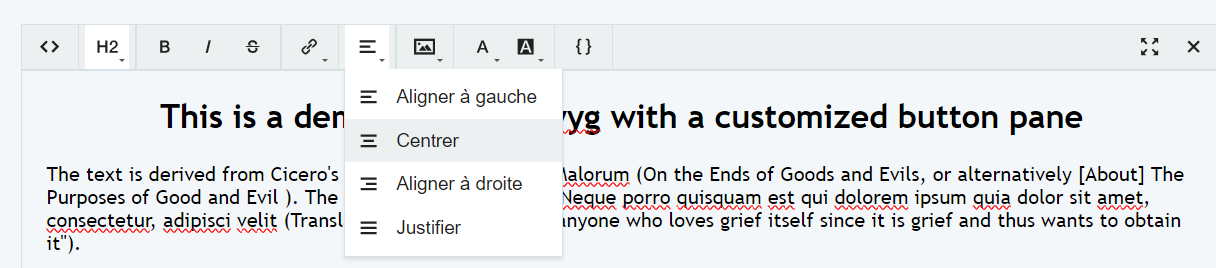
Alignment Tools
Text alignment buttons helps for the content creator to position the text as per their needs. We can define the button defintion for justifying different ways under one common button alignment dropdowns.
$.extend(true, $.trumbowyg.langs, {
		fr: {
			align: 'Alignement'
		}
     });

          var customizedButtonPaneTbwOptions = {
                lang: 'fr',
                fixedBtnPane: true,
                semantic: false,
                btnsDef: {
                        align: {
                        dropdown: ['justifyLeft', 'justifyCenter', 'justifyRight', 'justifyFull'],
                        ico: 'justifyLeft'
                    },
                },
                btns: [
                    ['align'],
                ],
                changeActiveDropdownIcon: true,
                minimalLinks: true,
                defaultLinkTarget: '_blank',
            };
            $('#default-editor).trumbowyg(customizedButtonPaneTbwOptions)
                   .on('dblclick', function(){
                        $(this).trumbowyg(customizedButtonPaneTbwOptions);
            }
);
There are lot more options to explore and events to control the rich text editor. For a basic html frontend project rich text editor, this is well suited light weight component to add.
Demos of trumbowyg are available in github for reference.