Building a CRUD To-Do List App in React Native with Expo: A Step-by-Step Guide


In this in-depth guide, we'll walk you through the process of creating a CRUD (Create, Read, Update, Delete) To-Do List app in React Native using Expo.
This beginner-friendly project covers essential concepts in mobile app development, including navigation, state management, and user interactions. To make it even more accessible, we've included brief explanations for each code snippet.
Prerequisites
Before we get started, ensure you have the following prerequisites:
1. Node.js and npm (Node Package Manager): If not already installed, download and install Node.js and npm from the official website.
2. Expo CLI: Globally install the Expo CLI, an essential tool for React Native development. Use the following command:
npm install -g expo-cli3. A Code Editor: Choose your preferred code editor; we recommend Visual Studio Code for its robust support for React Native development.
With the prerequisites in place, let's dive into building our To-Do List app step by step.
Step 1: Set Up Your React Native Project
We begin by creating a new React Native project using Expo CLI, which streamlines the development process.
1. Initialize a new Expo project by running:
expo init ToDoListApp2. Choose the "blank" template when prompted to provide a clean project setup.
3. Navigate to your project directory:
cd ToDoListApp4. Install the necessary dependencies, which include React Navigation and React Native Gesture Handler for navigation and smooth gestures:
npm install @react-navigation/native @react-navigation/stack react-native-gesture-handler react-native-reanimated
5. To incorporate icons, install Expo Vector Icons:
expo install @react-native-vector-icons/FontAwesomeWith the project set up, we're ready to proceed to the next step.
Step 2: Create the Task Component
In our To-Do List app, each task is represented as a separate component.
The `Task` component displays the task's text and offers a way to delete it.
1. Create a folder called `components` in your project's root directory.
2. Inside the `components` folder, create a file named `Task.js` where we'll define the code for our task component.
Here's the content of `Task.js`:
import React from "react";
import { View, Text, TouchableOpacity, StyleSheet } from "react-native";

const Task = ({ text, onDelete }) => {
  return (
     <View style={styles.task}>
        <View style={styles.textWrapper}>
           <Text style={styles.text}>{text}</Text>
        </View>
        <TouchableOpacity onPress={onDelete}>
           <Text style={styles.delete}>Delete</Text>
        </TouchableOpacity>
     </View>
  );
};

const styles = StyleSheet.create({
  task: {
     flexDirection: "row",
     justifyContent: "space-between",
     alignItems: "center",
     backgroundColor: "#f8f8f8",
     padding: 15,
     borderRadius: 10,
     margin: 10,
  },
  textWrapper: {
     flex: 1,
  },
  text: {
     fontSize: 18,
  },
  delete: {
     color: "red",
  },
});

export default Task;
Component Definition:
The `Task.js` file defines the `Task` component, which represents an individual task in the To-Do List app.
The component's primary purpose is to render each task and provide the functionality to delete tasks when needed.
Component Structure:
The `Task` component is structured as a `View` container, which holds the task's content and a "Delete" button.
It receives two props: `text`, which represents the task's text, and `onDelete`, a function to delete the task.
Styling with StyleSheet:
The component uses `StyleSheet.create` to define its styling, including background color, padding, text size, and the appearance of the "Delete" button.
This component serves as a reusable building block to display individual tasks in the To-Do List.
Step 3: Create the Main App
In this step, we'll create the primary app component that manages tasks, user input, and the task creation process.
1. In the project's root directory, create a file named `App.js` with the following content:
import React, { useState } from "react";
import {
  View,
  Text,
  TextInput,
  Button,
  ScrollView,
  StyleSheet,
} from "react-native";
import { FontAwesome5 } from "@expo/vector-icons";
import Task from "./components/Task";

const App = () => {
  // State to manage tasks and user input
  const [tasks, setTasks] = useState([]);
  const [task, setTask] = useState("");

  // Function to add a new task
  const addTask = () => {
     if (task.trim() !== "") {
        setTasks([...tasks, task]);
        setTask(""); // Clear the input
     }
  };

  // Function to delete a task by its index
  const deleteTask = (index) => {
     const newTasks = [...tasks];
     newTasks.splice(index, 1);
     setTasks(newTasks);
  };

  return (
     <View style={styles.container}>
        {/* Header */}
        <View style={styles.header}>
           <Text style={styles.headerText}>To-Do List</Text>
        </View>

        {/* Task Input */}
        <View style={styles.inputContainer}>
           <TextInput
              style={styles.input}
              placeholder="Add a task..."
              value={task}
              onChangeText={(text) => setTask(text)}
           />
           <FontAwesome5
              name="plus"
              size={24}
              color="green"
              onPress={addTask}
           />
        </View>

        {/* Task List */}
        <ScrollView style={styles.tasks}>
           {tasks.map((text, index) => (
              <Task
                 key={index}
                 text={text}
                 onDelete={() => deleteTask(index)}
              />
           ))}
        </ScrollView>
     </View>
  );
};

const styles = StyleSheet.create({
  container: {
     flex: 1,
     padding: 20,
     marginTop: 20,
  },
  header: {
     marginTop: 20,
     marginBottom: 20,
     alignItems: "center",
  },
  headerText: {
     fontSize: 36,
     fontWeight: "bold",
  },
  inputContainer: {
     flexDirection: "row",
     alignItems: "center",
  },
  input: {
     flex: 1,
     borderWidth: 1,
     borderColor: "#777",
     borderRadius: 10,
     padding: 10,
     margin: 10,
  },
  tasks: {
     marginTop: 30,
  },
});

export default App;
Main App Component:
The `App.js` file is the primary component of the To-Do List app, responsible for managing tasks, user input, and the task creation process.
It uses React Hooks to manage the state for tasks and user input.
Adding and Deleting Tasks:
The `addTask` function allows users to add new tasks by checking that the task input is not empty and updating the `tasks` state with the new task.
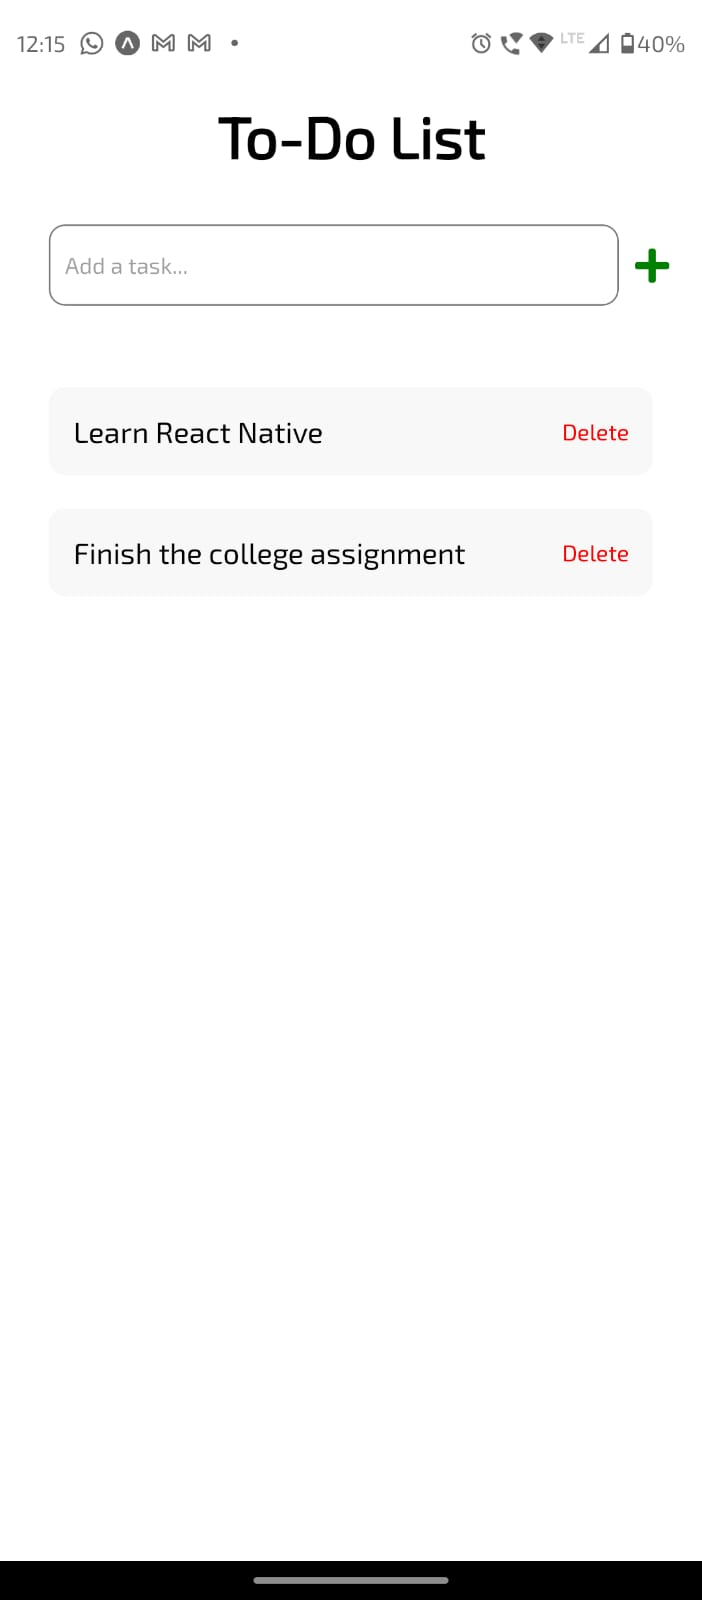
The `deleteTask` function enables users to delete tasks by creating a copy of the current tasks, removing the task at the specified index, and updating the `tasks` state with the modified list.
Component Structure and Styling:
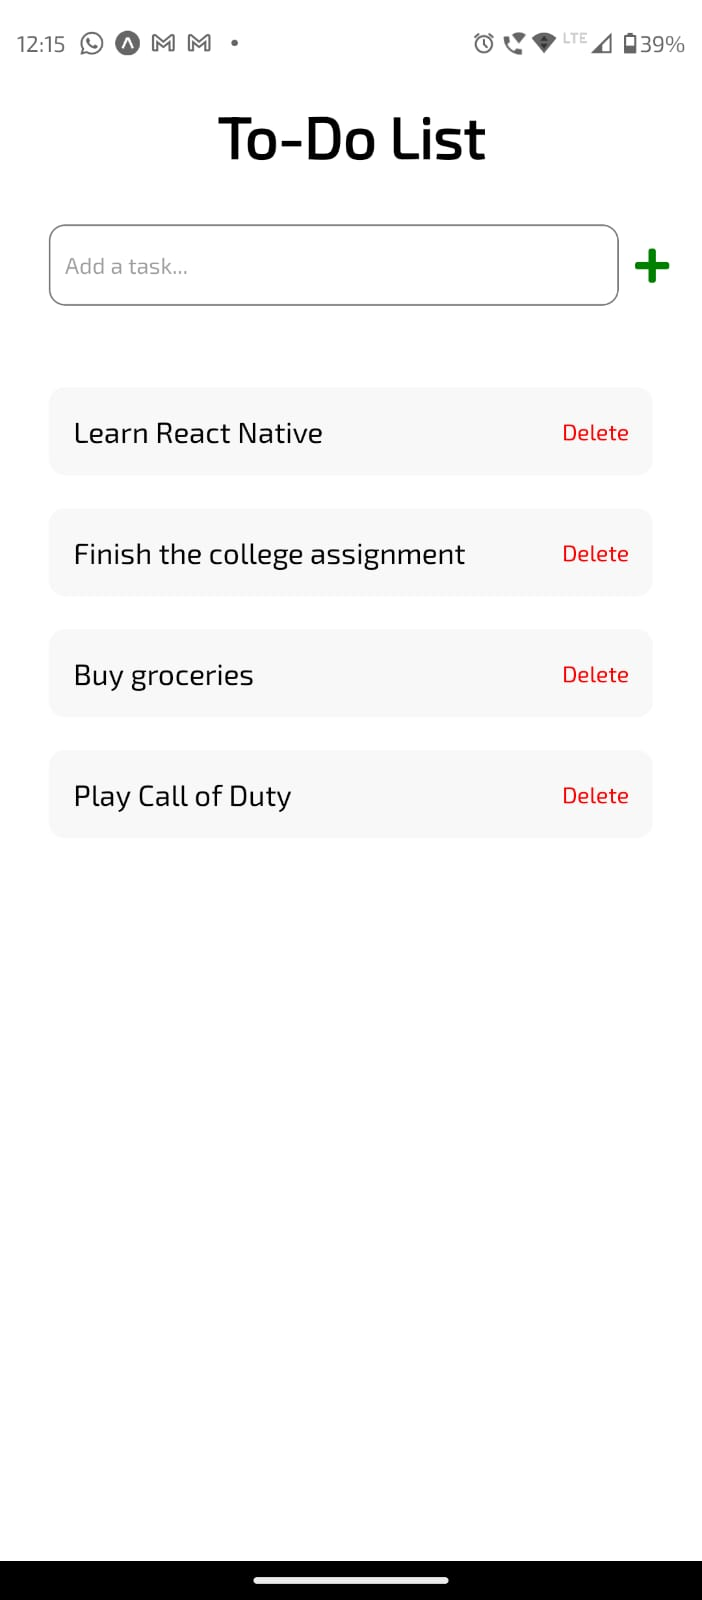
The component structure includes a header displaying "To-Do List," an input field for adding tasks, and a scrollable list of tasks, each represented by the `Task` component.
Styling is managed using `StyleSheet.create`, defining fonts, spacing, and alignment, ensuring a visually appealing and user-friendly interface.
Step 4: Running the App
After setting up the app, you can run it using Expo. Enter the following command in your terminal to launch the app:
expo startYou can then choose to run it on an emulator, physical device, or web browser. Expo provides a convenient way to preview and test your app on multiple platforms.
Homepage

After Adding Tasks
After Deleting Tasks
Expo CLI Usage:
To run the To-Do List app, you can utilize Expo CLI by entering `expo start` in your terminal. Expo streamlines the development and testing process.
Platform Compatibility:
Expo allows you to choose the target platform, whether it's an emulator, physical device, or web browser, providing a versatile environment for testing and previewing your app.
Testing and Development:
Expo simplifies the testing and development process by offering a convenient way to preview your app on multiple platforms, making it accessible for both beginners and experienced developers.
Conclusion
Creating simple projects like this To-Do List app is an effective way to solidify your React Native skills. We've covered the core concepts, including state management, user interactions, and navigation. As you continue your React Native journey, consider expanding this app with additional features, such as task editing or categorization. You can also explore advanced styling and state management techniques to enhance the app's functionality and user experience.
Happy coding!