Step-by-Step Guide: How to Install and Configure Minio


Minio is a powerful, open-source object storage system compatible with Amazon S3. It is ideal for storing unstructured data such as photos, videos, backups, and log files. This guide walks you through the process of installing and configuring Minio on your system, ensuring you can quickly get up and running with this robust storage solution.
Prerequisites
Make sure you have the following prerequisites before you begin:
- A server or virtual machine with a modern Linux distribution (such as Ubuntu, CentOS, or Fedora).
- Root or sudo access to the server.
- At least 1GB of RAM and sufficient disk space for storing your data.
- Access to the internet to download Minio.
How to install Minio in Linux
Step 1: Download and Install Minio
1.Open a terminal on your server and download the Minio server binary using the following command:
wget https://dl.min.io/server/minio/release/linux-amd64/minio
2. Make the Minio Binary Executable
After downloading, make the binary executable
chmod +x minio
3. Move the Minio Binary to a System-Wide Location:
Move the Minio binary to /usr/local/bin so that it can be accessed from anywhere on the system:
sudo mv minio /usr/local/bin/
Step 2: Configure Minio
1. Create a Directory for Minio Data:
Minio needs a directory to store its data. Create a directory named minio-data:
sudo mkdir /mnt/data/minio-data
2. Set Up Environment Variables:
Minio requires certain environment variables to be set for access and secret keys. You can set these variables in your shell profile or directly in the terminal:
export MINIO_ROOT_USER=minioadmin
export MINIO_ROOT_PASSWORD=minioadmin123
Replace minioadmin and minioadmin123 with your preferred access and secret keys.
Step 3: Start the Minio Server
1. Run Minio Server:
Start the Minio server using the following command, specifying the directory you created for data storage:
minio server /mnt/data/minio-data --console-address ":9001"
2. Access Minio Web Interface:
By default, Minio API server runs on port 9000. Web UI runs on the console address port 9001. Use the admin username and password set as part of environment variable to login in to console http://localhost:9001/login
Step 4: Set Up Minio as a System Service (Optional)
To ensure Minio starts automatically with your server, you can set it up as a system service.
1. Create a Systemd Service File:
Create a new service file for Minio:
sudo nano /etc/systemd/system/minio.service
Add the Following Configuration:
[Unit]
Description=MinIO
Documentation=https://docs.min.io
Wants=network-online.target
After=network-online.target

[Service]
User=minio-user
Group=minio-user
EnvironmentFile=-/etc/default/minio
ExecStart=/usr/local/bin/minio server /mnt/data/minio-data
Restart=always
LimitNOFILE=65536

[Install]
WantedBy=multi-user.target
Replace minio-user with your server user. Save and close the file.
3. Reload Systemd and Start Minio Service:
sudo systemctl daemon-reload
sudo systemctl enable minio
sudo systemctl start minio
4. Check Minio Service Status:
Verify that the Minio service is running:
sudo systemctl status minioHow to install Minio in Windows
Step 1: Download minio
curl https://dl.min.io/server/minio/release/windows-amd64/minio.exe --output minio.exe
Step 2: Configure minio
setx MINIO_ROOT_USER minoadmin

setx MINIO_ROOT_PASSWORD minoadmin123
Step 3: Start the server
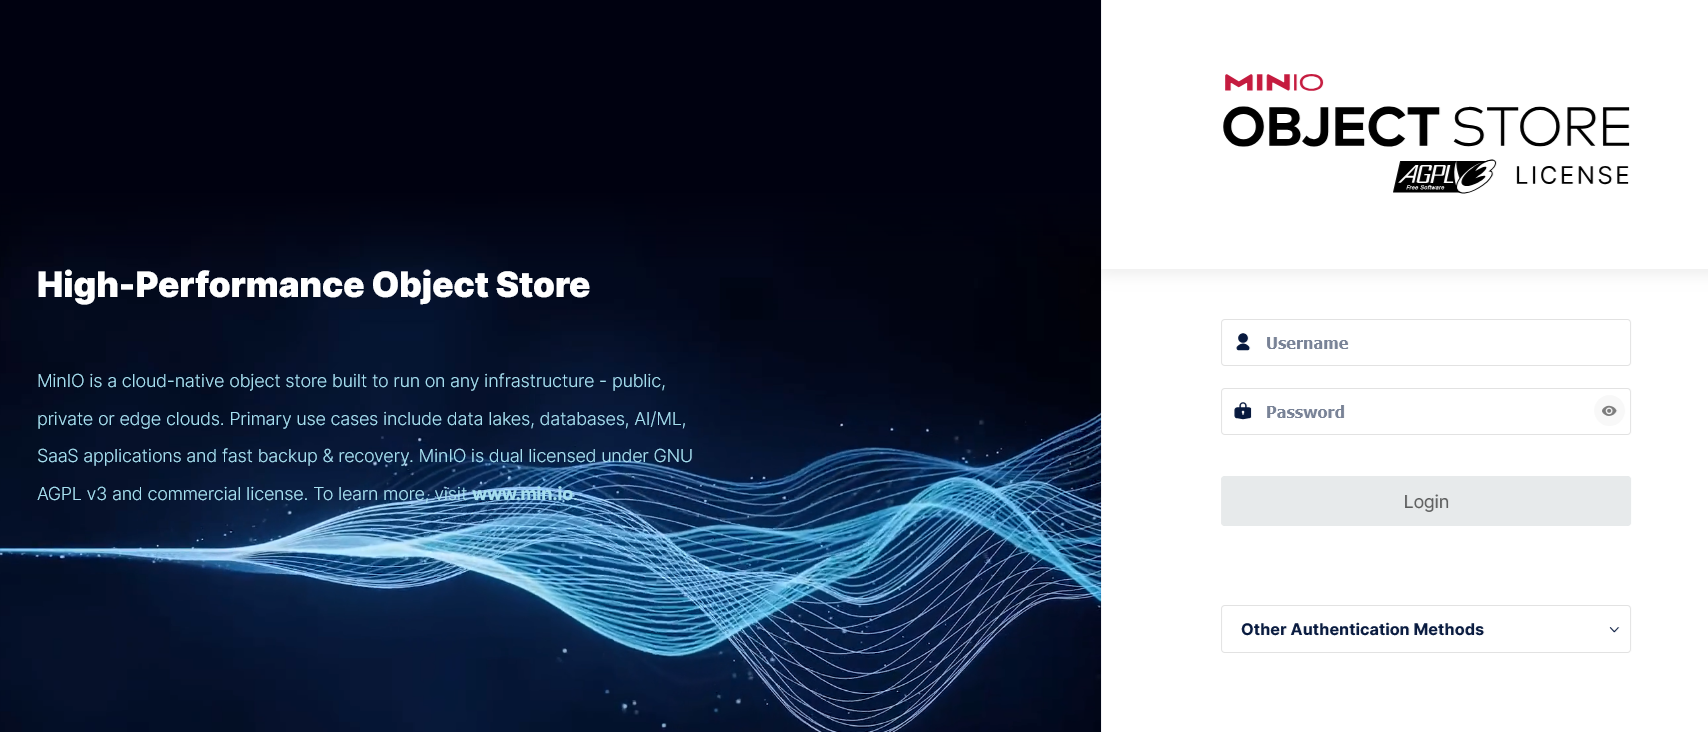
minio.exe server C:\Software\minio\data --console-address ":9001"Console Web Interface
Hit the url http://localhost:9000 in the browser. Below console UI will be displayed. Login using the credentials set as environment variable.
Conclusion
Congratulations! You have successfully installed and configured Minio on your server. You can now use the Minio web interface to manage your object storage, upload files, and configure buckets. Minio’s S3 compatibility allows you to integrate it with various applications and tools, making it a versatile choice for your storage needs.