How to setup and manage project in Jenkins

Jenkins makes Continuous Integration processes automated by orchestrating a chain of actions based on Java. From building, testing, documenting the software, deploying, and other stages of the software development lifecycle, Jenkins supports the full lifecycle of software development.
This is a server-based application that requires a web server like Apache Tomcat. Jenkins became so popular because of its ability to monitor repetitive tasks that occur during project development. During the early stages of developing a project, Jenkins will continuously test your builds and alert you in case of any errors.
How to Integrate Jenkins With GitHub
Install Jenkins by visiting the Jenkins download page, where you'll find the long-term support version installers under the Downloading Jenkins page. Depending on your operating system, such as Windows or Mac, click the appropriate link and follow the instructions to complete installation. It is necessary to install the GitHub plugin on Jenkins in order for it to be able to pull code from GitHub. Here are the steps to install the Git plugin on Jenkins:
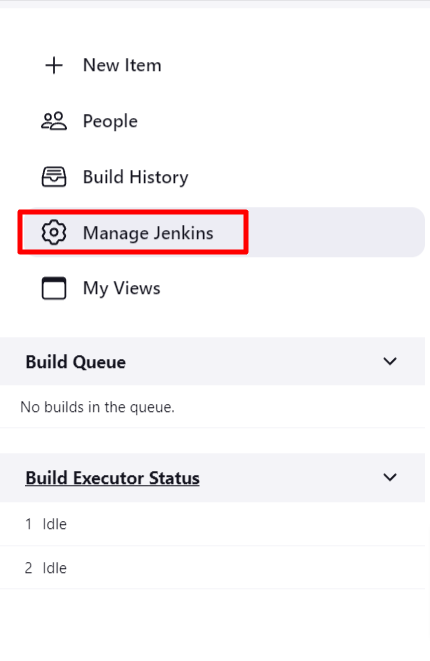
Step 1: From your dashboard, click Manage Jenkins:
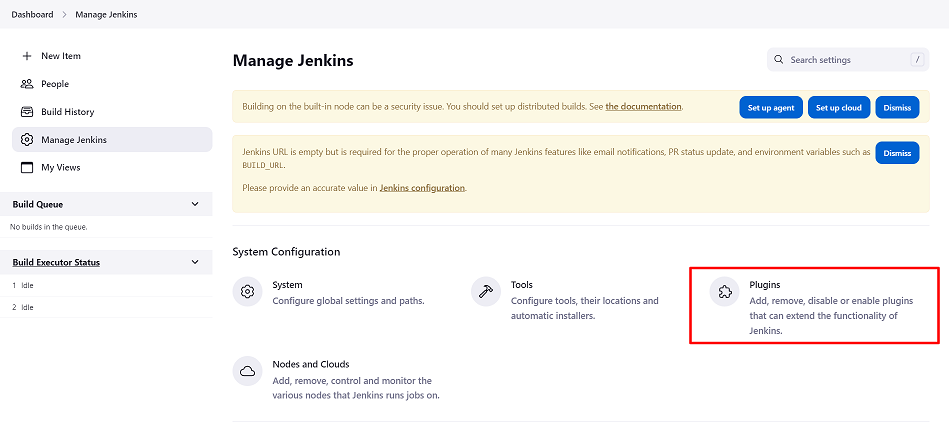
Step 2: Click on the plugins option
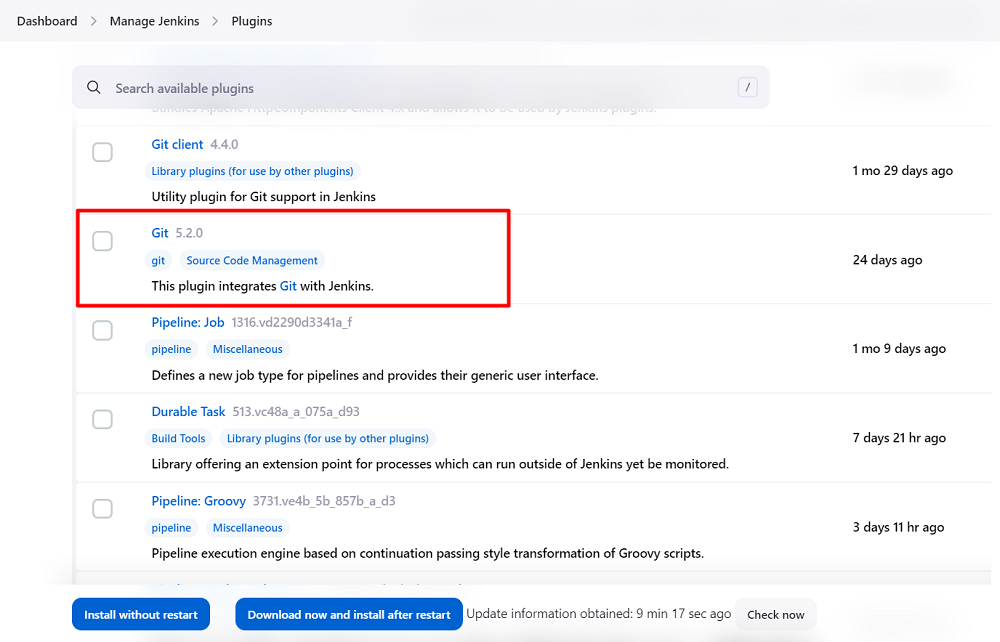
Step 3: Go the plugins and follow the instructions listed below
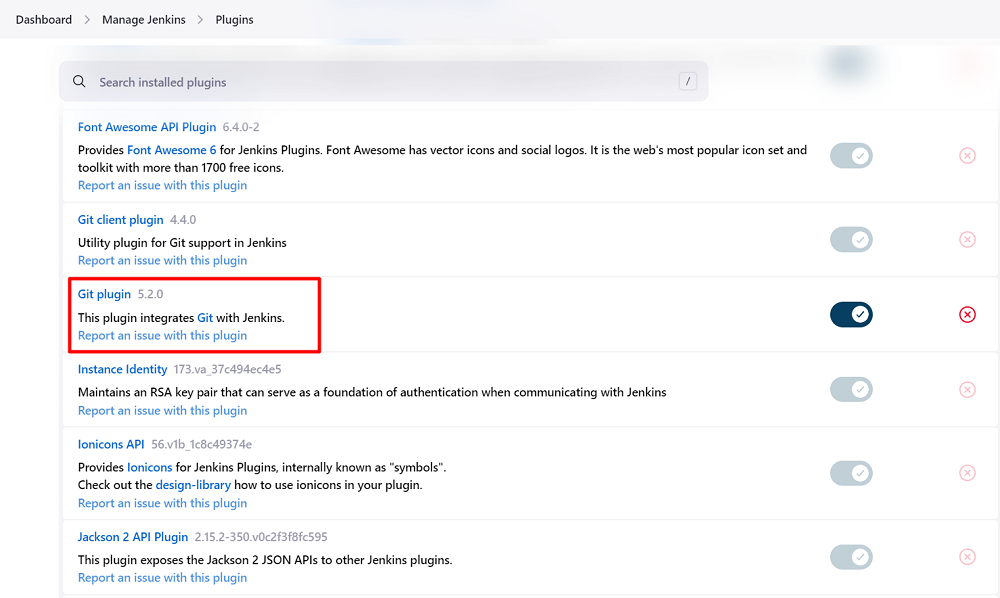
i) Choose the GIT plugin and select the option to install without restarting. The plugin will begin downloading and installing itself after a few moments, depending on your connection.
ii) Now that your plugins have been installed, you will see them listed in the Manage Jenkins -> Installed Plugins section of your Jenkins dashboard.
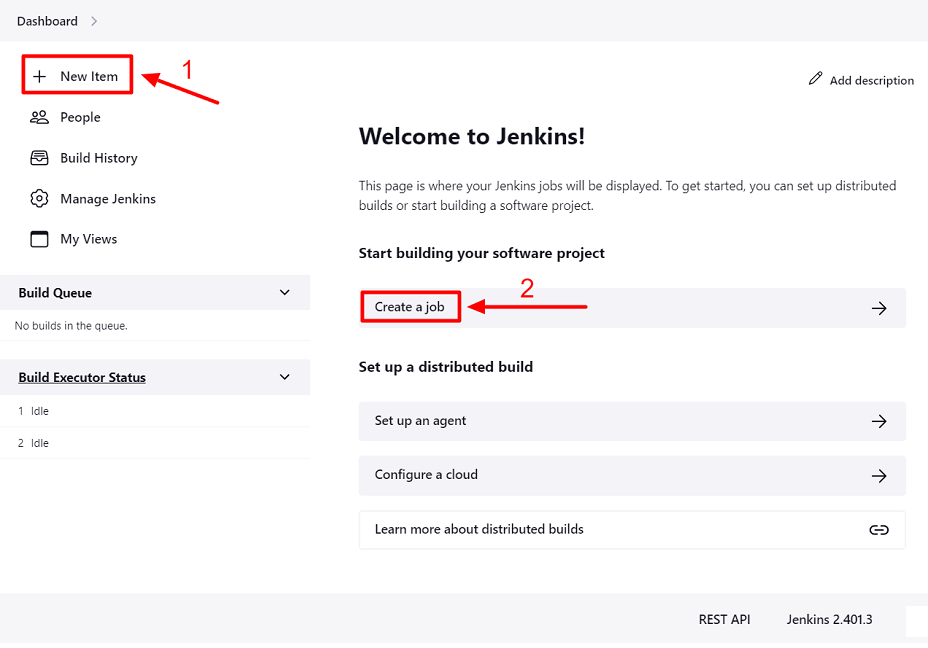
Step 4: Integrating Jenkins with GitHub on Windows is the next step. In order to accomplish it, you must now create a Jenkins job. You can do this by clicking New Item (1). Click on create new jobs (2) if it's a fresh install. Here is a screenshot of what it should look like:
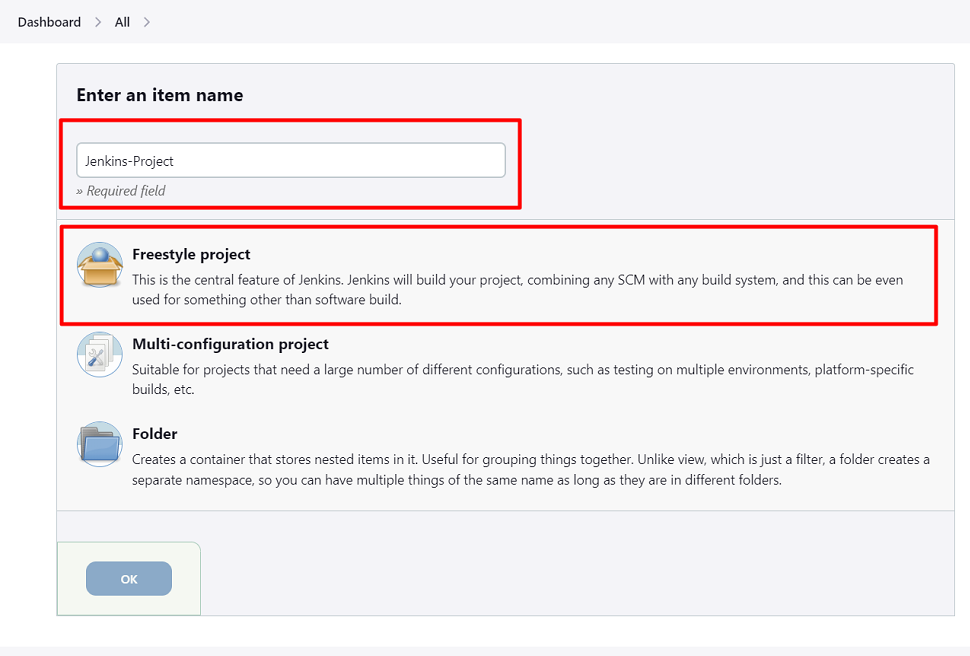
Step 5: You must enter the item name, select the job type, and click OK. For our example, we will create a Freestyle project.
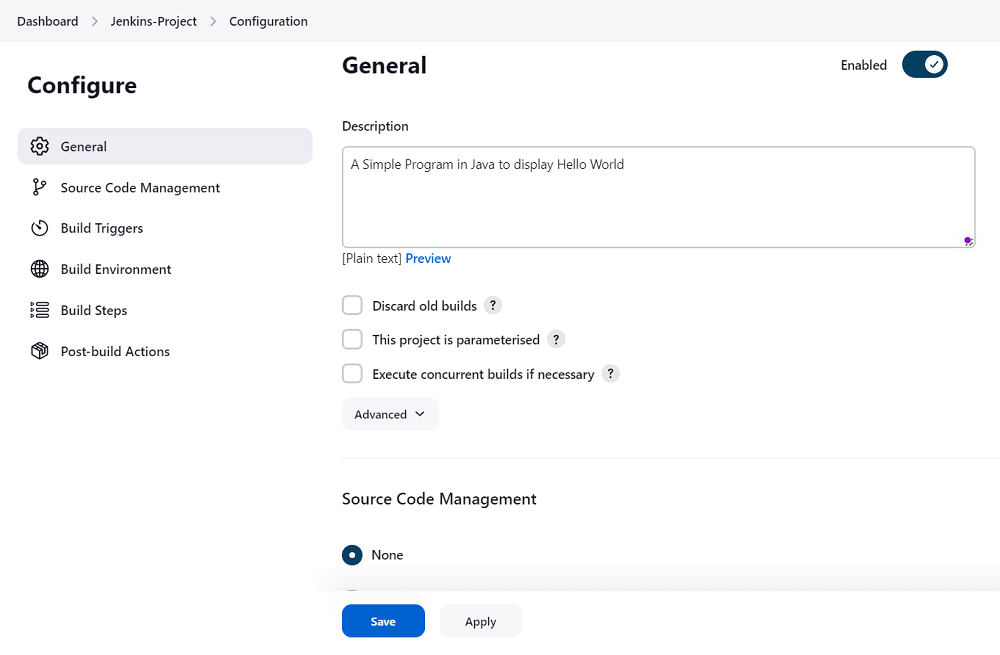
Step 6: Upon clicking OK, the page will redirect to the project form. In this section, you will need to enter the following information about the project:
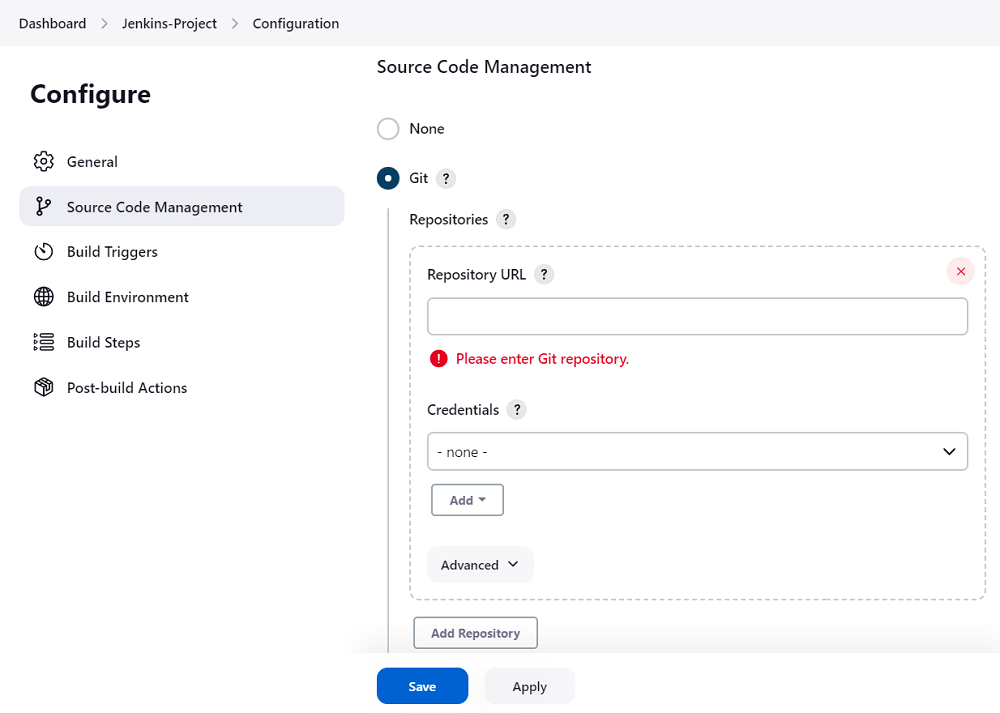
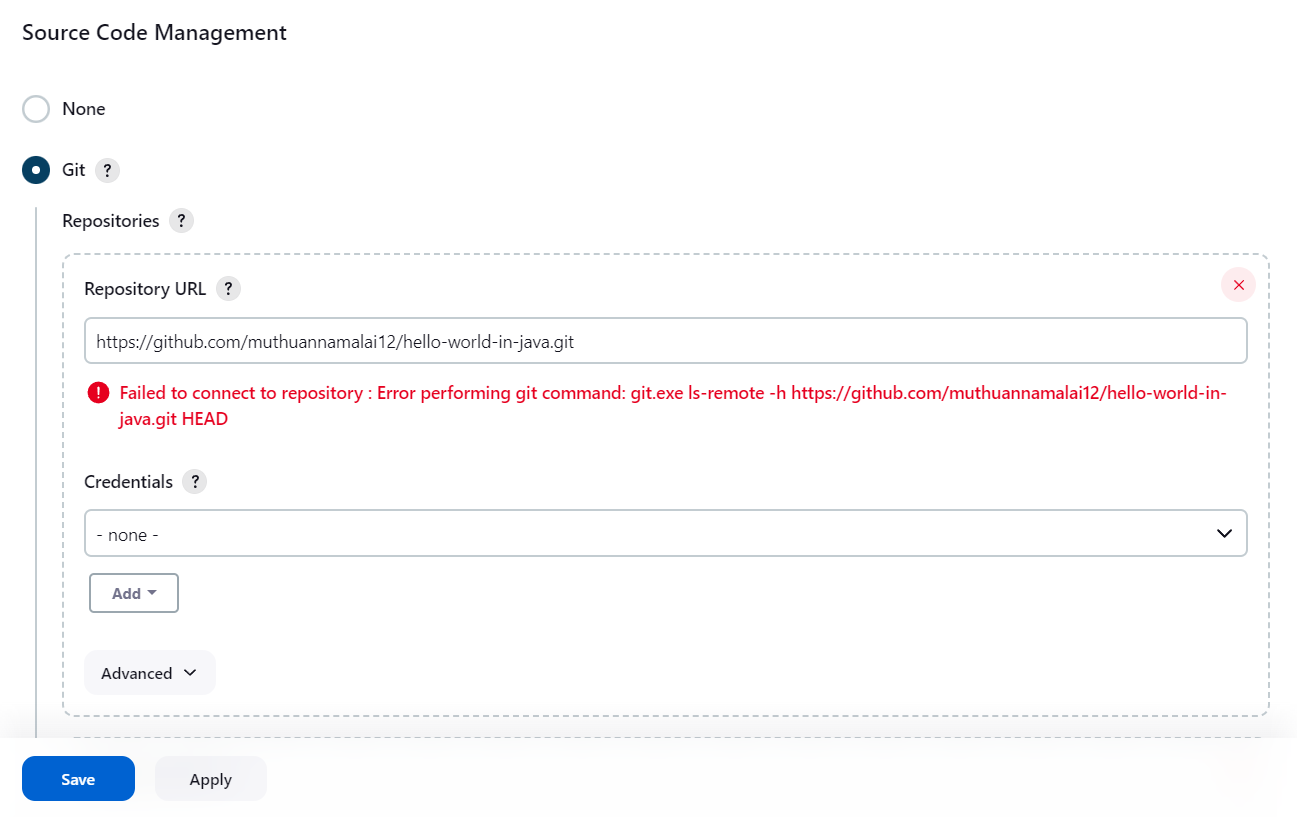
Step 7: Once your Git plugin has been installed in Jenkins, a Git option will appear under Source Code Management. Select it and add the URL of the GitHub repository to pull the code. When you enter the repository URL for the first time, you might receive an error message. Here's an example:
Step 8: You will encounter this error if your local machine does not have Git installed. Git can be downloaded and installed locally from https://git-scm.com/downloads
Step 9: Download and install the Git file for your OS, in this case Windows. Follow the instructions onscreen to install GIT.
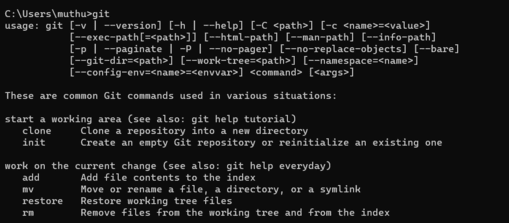
Step 10: Jenkins can run Git repositories once Git is installed on your machine. Open the command prompt and enter "Git" to see if it has been installed successfully. There are different options available for Git. This means that Git is installed on your computer.
Note: If GIT is already installed on your system, simply add git.exe to Global Tool Configuration.
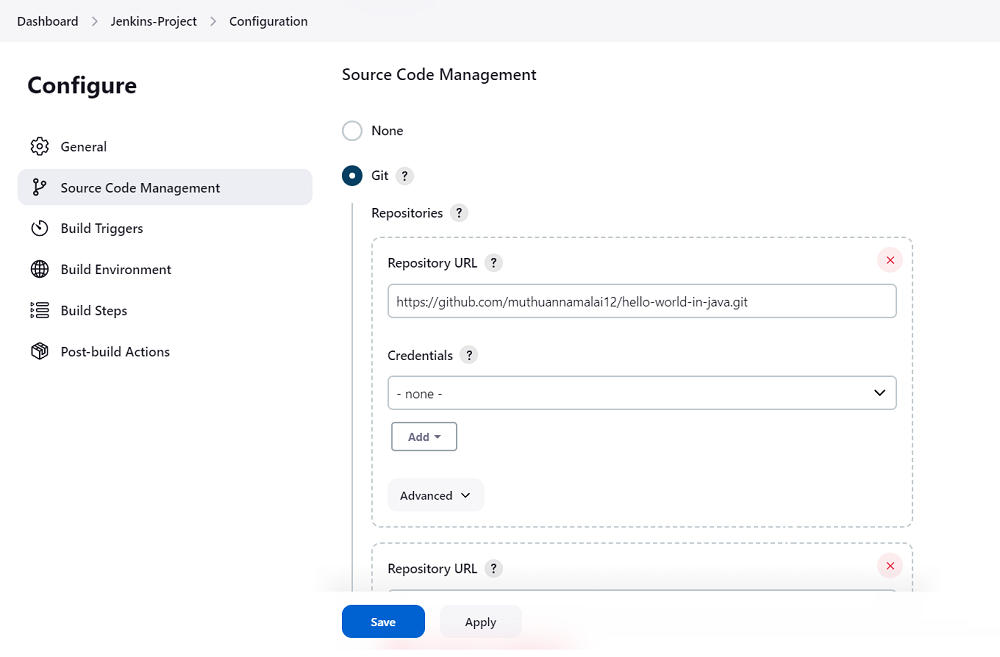
Step 11: After everything is in place, try adding the Git URL to Jenkins. Once Jenkins Git integration has been successfully configured on your system, no error messages will be displayed.
How to Start a Jenkins Build Job
Now that we have set up our github path and configured our git repo URL, let's look at how we can create a job. To set up a job in Jenkins, follow the instructions below
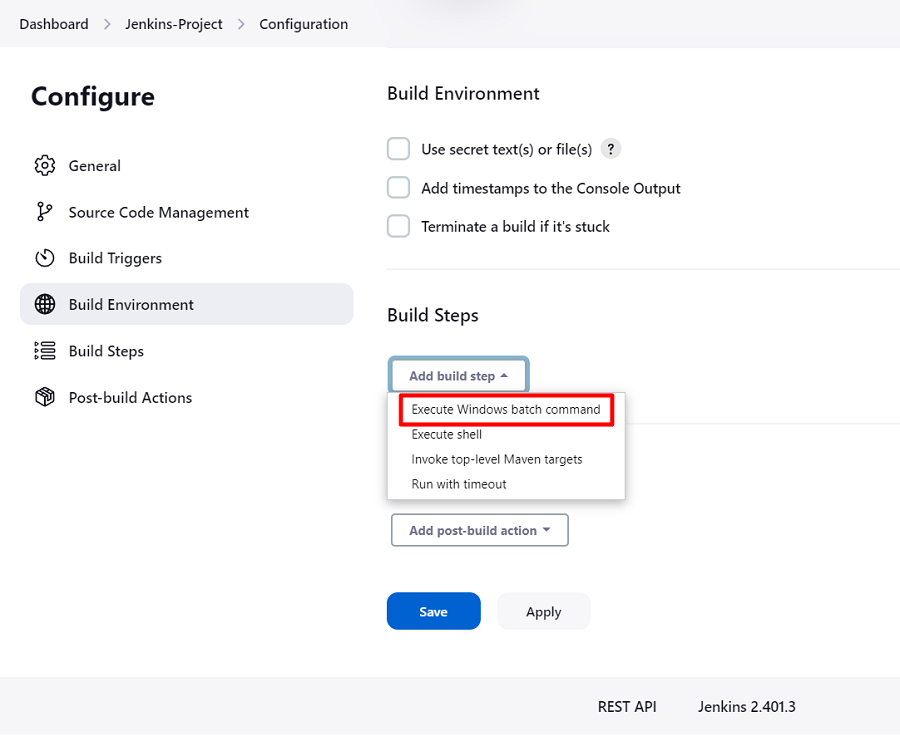
Step 1: Click "Add build step" under build and inside it we can execute Windows batch commands by clicking "Execute Windows batch command".
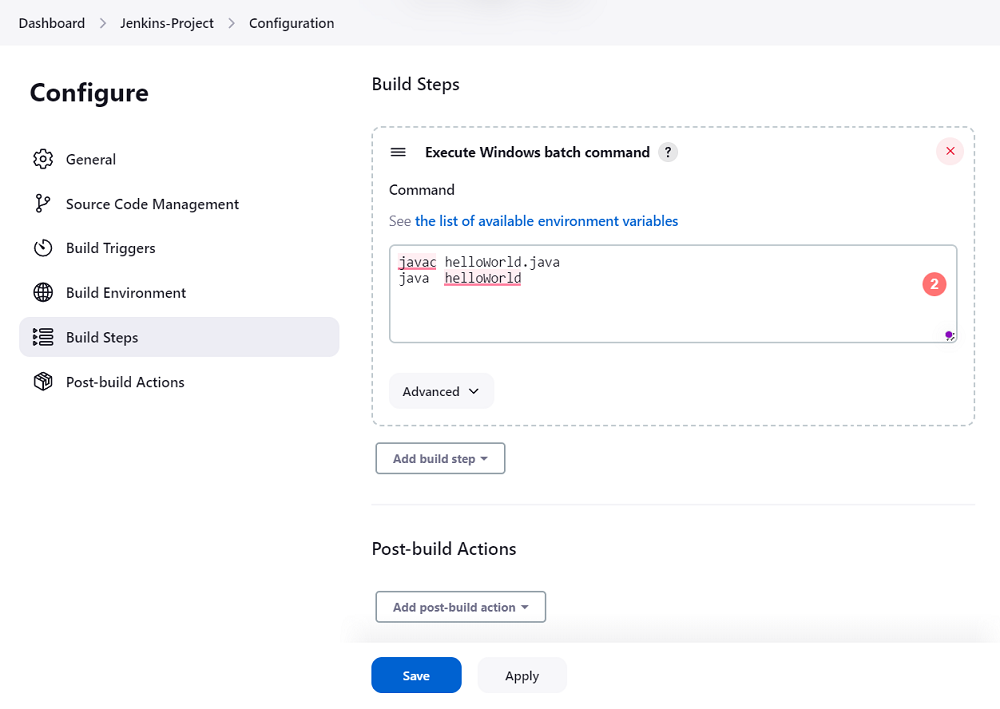
Step 2: Here, I have added the java commands to compile the java code.Save the shell code by entering a single line like above
javac helloWorld.java
java helloWorld
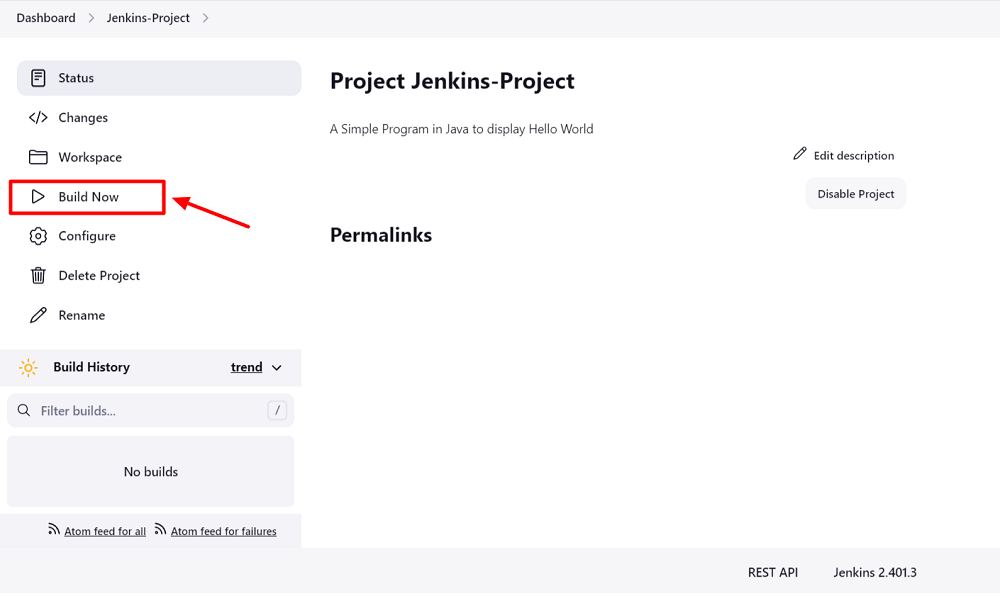
Step 3: Click the Build Now button. Almost immediately, the job will run and complete. Click the build number to see your results.
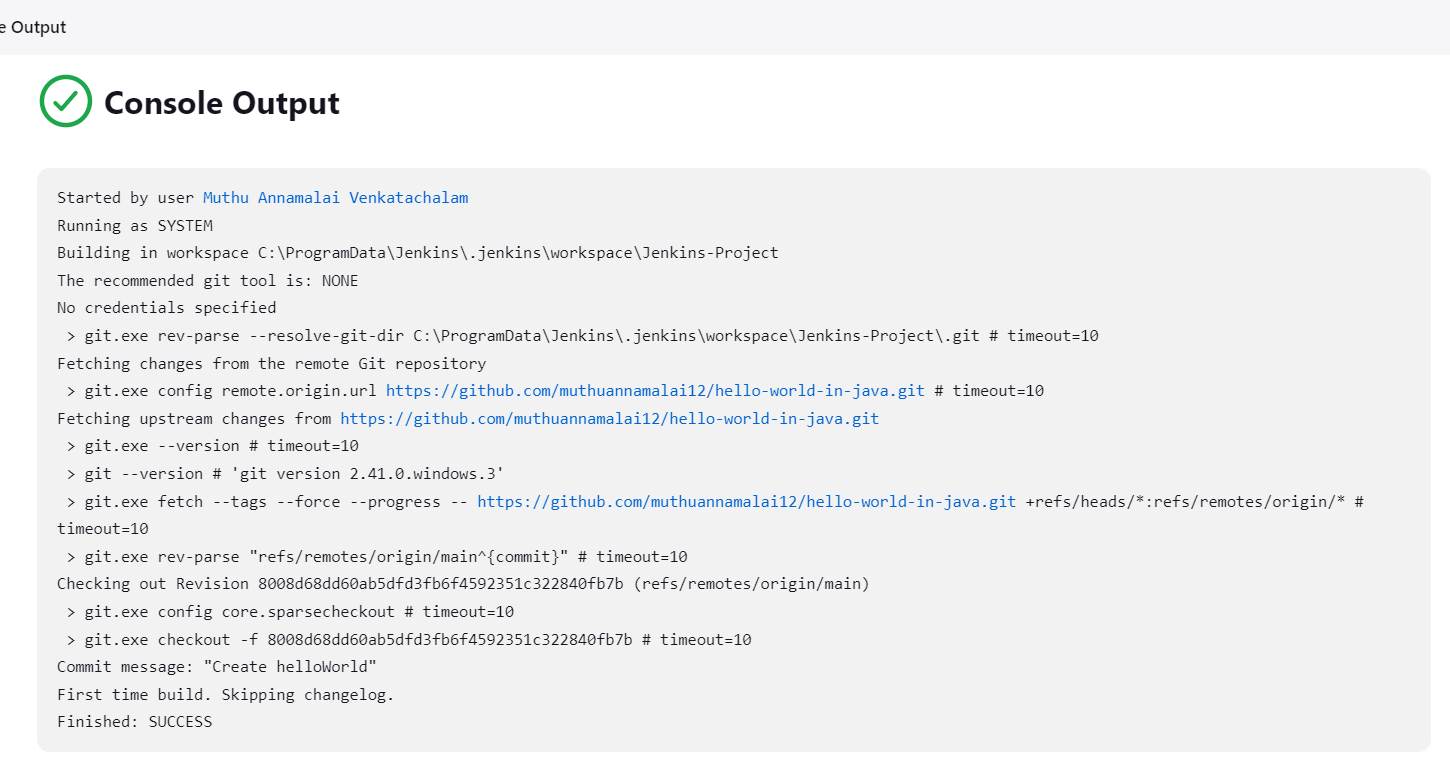
Step 4: Click on Console Output to view the message from the shell.
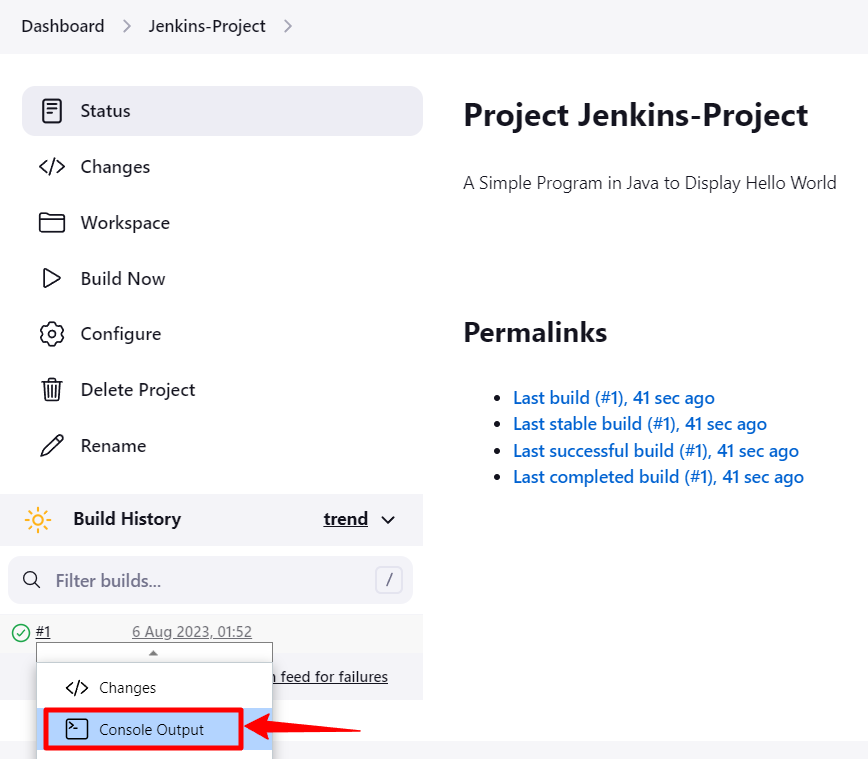
Step 5: We can see success build message is shown in the console output as shown below
Conclusion:
In this blog, we have learned How to create and manage jobs in Jenkins. Jenkins freestyle allows you to build your project, combining any SCM with any build system.