Explore Best jQuery Zoom plugin


In website / eCommerce development, we may come across situtation of showing thumbnail kind of images, where user wants to zoom in through click or grab to see most of the details into it. In this blog, we will see two jquery Zoom plugins on how to implement it and how to use it.
Zoom plugin :
We are going to start a fresh project, so we will download jquery library file. Then download the jquery zoom plugin also from here. Lets create html file where image will be wrapped with span element. We also have the paragrph to denote what kind of zoom effect, it is going to produce.
Added few styles to the cursor to create the zoom impact like hand symbol cursor while moving over the image.
<!DOCTYPE html>
<html>
<head>
	<meta charset='utf-8'/>
	<title>jQuery Zoom Demo</title>
	<style>
		/* styles unrelated to zoom */
		* { border:0; margin:0; padding:0; }
		p { position:absolute; top:3px; right:28px; color:#555; font:bold 13px/1 sans-serif;}
		.zoom {
			display:inline-block;
			position: relative;
		}
		/* magnifying glass icon */
		.zoom:after {
			content:'';
			display:block;
			width:33px;
			height:33px;
			position:absolute;
			top:0;
			right:0;
			background:url(icon.png);
		}
		.zoom img {
			display: block;
		}
		.zoom img::selection { background-color: transparent; }
		#ex2 img:hover { cursor: url(grab.cur), default; }
		#ex2 img:active { cursor: url(grabbed.cur), default; }
	</style>
	<script src='http://ajax.googleapis.com/ajax/libs/jquery/1.10.2/jquery.min.js'></script>
	<script src='jquery.zoom.js'></script>
	<script>
		$(document).ready(function(){
			 $('#ex1').zoom();
			 $('#ex2').zoom({ zoomLevel: 2 });
		  $('#ex3').zoom({ magnify: 1.5 });
			 $('#ex4').zoom({ on:'click' });
			$('#ex5').zoom({ on:'grab'});
		});
	</script>
</head>
<body>
	<span class='zoom' id='ex1' style="top:20px;">
		<img src='bike1.jpg' width='555' height='320' alt='Daisy on the Ohoopee'/>
		<p style="color: white;">Hover</p>
	</span>
	  <span class='zoom' id='ex2' style="top:50px;">
		<img src='roxy.jpg' width='290' height='320' alt='Roxy on the Ohoopee'/>
		<p>Zoom Level 2</p>
	</span>
	<span class='zoom' id='ex3'style="top:30px;">
		<img src='daisy.jpg' width='555' height='320' alt='Daisy on the Ohoopee'/>
		<p>Magnify to 1.5</p>
	</span>
	<span class='zoom' id='ex4'style="top:30px;">
		<img src='roxy.jpg' width='290' height='320' alt='Roxy on the Ohoopee'/>
		<p>Click to toggle</p>
	</span>
	<span class='zoom' id='ex5'style="top:30px;">
		<img src='roxy.jpg' width='290' height='320' alt='Roxy on the Ohoopee'/>
		<p>On Grab</p>
	</span>
</body>
</html>
Use jQuery to target the elements with the class zoom and call the zoom() function. Customize the options as needed.
$('#image).zoom();
This line initializes the default zoom functionality on the element with the ID 'ex1'. The default behavior usually involves zooming in when the user hovers over the element.
There are various additional parameters for zoom functionality
1. To enable touch gestures for zooming, include touch: true in the configuration for the element with the ID image.
$('#image).zoom({ touch: true })
2. If you want to magnify the zoomed image by 1.5 times, use magnify: 1.5 on the element with the ID image.
$('#image).zoom({ magnify: 1.5 });
3. It would trigger the zoom effect when the user grabs or drags the element with the ID “image”. This provides an alternative way to activate the zoom, beyond the default hover behavior.
$('#image).zoom({ on:'grab' });
4. It would trigger the zoom effect when the user clicks on the element with the ID “image”. This is another alternative to the default hover behavior.
$('#image).zoom({ on:'click' });
5. It would toggle the zoom effect on and off with each click on the element with the ID 'ex4'. This provides a toggle functionality where the zoom state changes with each click
$('#image).zoom({ on:'toggle'});
6. For a specific zoom level of 2, you can apply zoomLevel: 2 to the element with the ID 'image'.
$('#image).zoom({ zoomLevel: 2 });
7. To execute custom actions when zooming in or out, use the following callbacks on the element with the ID 'image'.
$('#image).zoom({

       onZoomIn: function () {

           console.log('Zoomed In!');

        },

       onZoomOut: function () {

           console.log('Zoomed Out!');

      }

   });
Lets runs and see the difference:
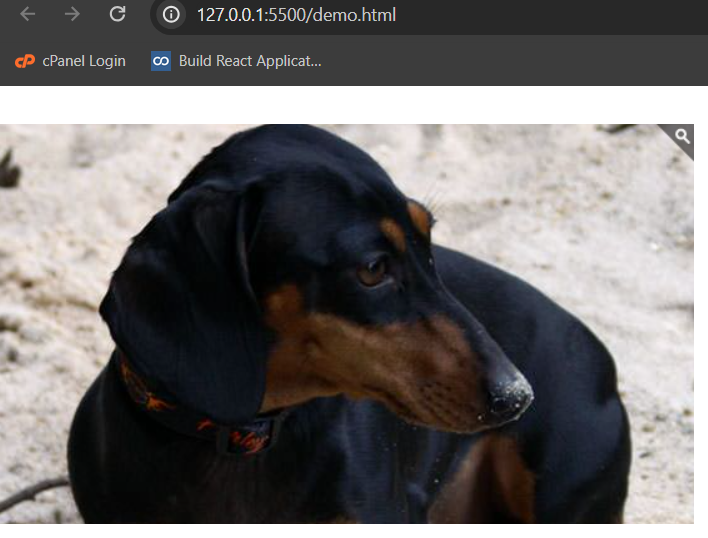
1.On Hover effect
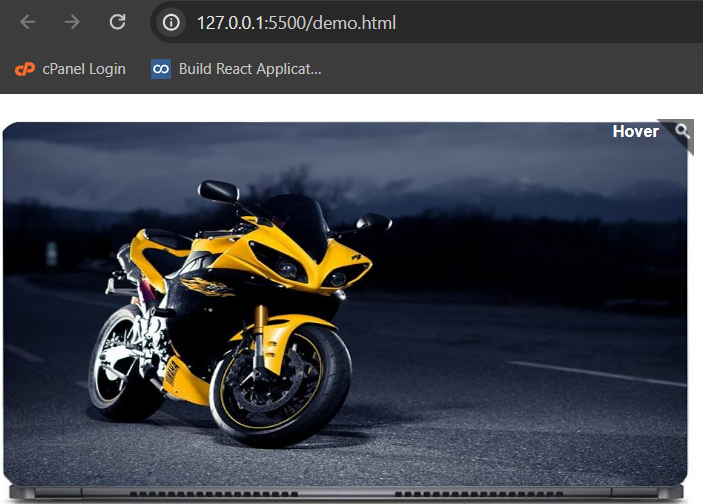
The above image is displayed in its default, unaltered state.
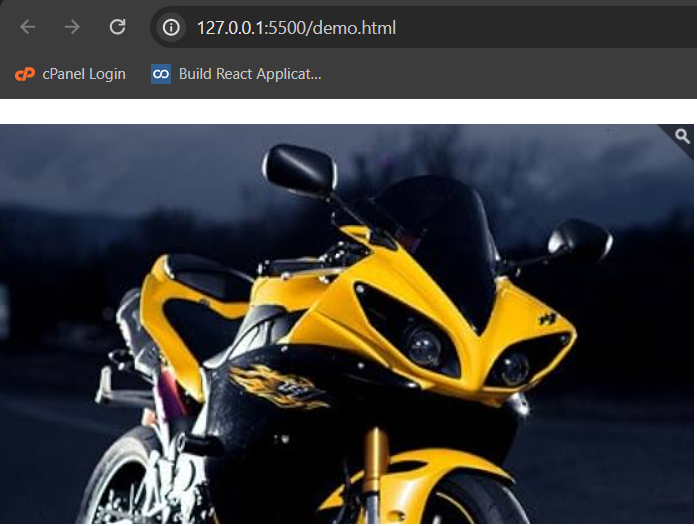
The below first image attached reflects the outcome of applying the zoom functionality with a hover effect, showcasing the zoomed state triggered by hovering on the image.
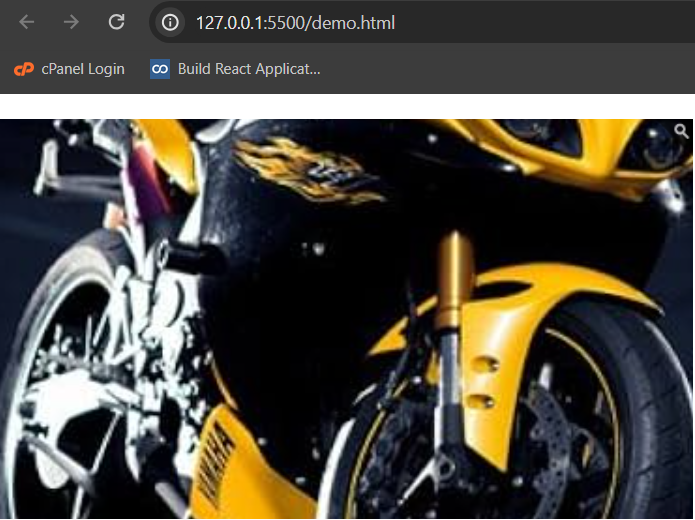
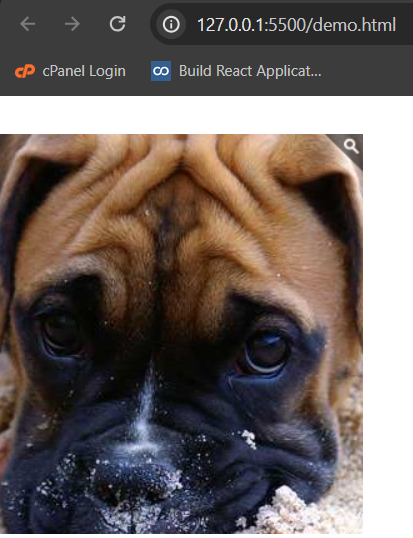
This below second image displays the outcome of the zoom functionality set to a magnification factor of 1.5, showcasing an enlarged view of the image.
2. On Click effect
Befor click,
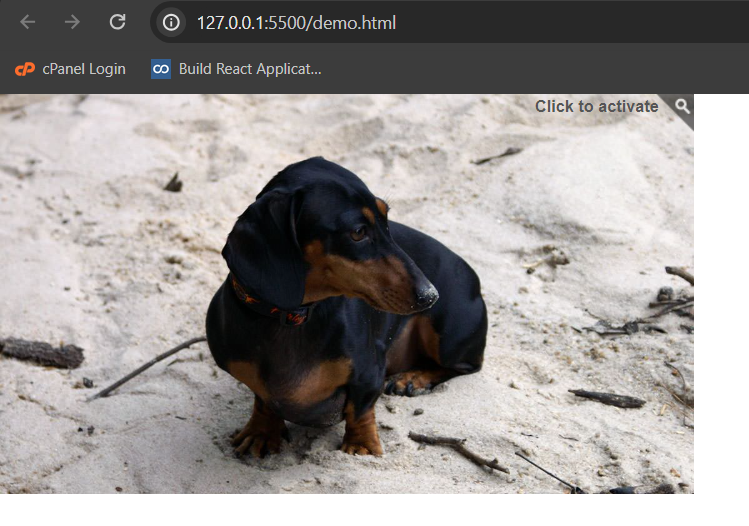
The below attached image reflects the outcome of applying the zoom functionality with a click event, showcasing the zoomed state triggered by clicking on the image
3. On Toggle effect
Before toggle,

The below attached image reflects the outcome of applying the zoom functionality with a click event, showcasing the zoomed state triggered by toggling the image. Working code sample is available in the public github repo.
jQuery Elevated Zoom
Elevated zoom effect means when cursor goes over the image, it will become magnifying glass. There will be popup appearing with zoom in version of the image. For this also we will create a seprate project, then add the jquery library file and the elevated zoom library files.
We need to create html file to check the usage of elevated zoom. In the image tag, we need to use two images. The use of two images (image1.png and image1.jpg) is essential for this zoom effect. The smaller image is displayed initially, and when the user interacts with it (e.g., hovers over it), the larger image is shown in a zoomed-in window, providing a closer look at the details of the image.
Add a script tag at the end of the <body> section to initialise the ElevateZoom effect. Use jQuery to target the image by its ID (zoom_01) and call the elevateZoom() function. Customise by using the below options.
zoomType: "window":Specifies the type of zoom. In this case, it's set to "window," indicating that a separate zoom window will be used.
cursor: "zoom-in":Sets the cursor style when hovering over the zoomed image. In this case, it's set to "zoom-in," indicating to users that the image can be zoomed in.
zoomWindowFadeIn: 600 and zoomWindowFadeOut: 750 :Determines the duration of the fade-in and fade-out effects for the zoom window, expressed in milliseconds. In this example, the fade-in duration is set to 600 milliseconds, and the fade-out duration is set to 750 milliseconds.
zoomWindowPosition: 1 :Sets the position of the zoom window. The value "1" typically means that the zoom window is positioned to the right of the image.
zoomWindowOffsetX: 20 and zoomWindowOffsetY: 0 :Specifies the horizontal and vertical offset of the zoom window, respectively. In this example, the horizontal offset is set to 20 pixels, and the vertical offset is set to 0 pixels.
easing: true :Enables easing for the zoom transition, providing a smooth and gradual change in size.
scrollZoom: true :Enables zooming in and out using the mouse scroll wheel.
responsive: true :Makes the zoom window responsive, adjusting its size based on the dimensions of the image.
There are additional parameters that you can use with the jQuery Elevated Zoom plugin,
borderSize: 4 :Sets the size of the border around the zoom window.
borderColour: "#888" :Specifies the color of the border around the zoom window.
lensShape: "square" :Defines the shape of the lens used for magnification. It can be set to "round" or "square."
lensSize: 200 :Specifies the size of the lens.
lensFadeIn: 300 and lensFadeOut: 300 :Determine the duration of the fade-in and fade-out effects for the lens.
lensBorder: 1 :Sets the size of the border around the lens.
containLensZoom: true :Ensures that the lens does not extend outside the boundaries of the image.
loadingIcon: "path/to/loading.gif" :Specifies the path to a custom loading icon displayed during image loading.
These parameters offer additional customization options for the Elevated Zoom plugin.
<!DOCTYPE html>
<html>
<head>
<meta charset='utf-8' />
<title>jQuery elevateZoom Demo</title>
<script src='jquery-1.8.3.min.js'></script>
<script src='jquery.elevatezoom.js'></script>
</head>
<body>
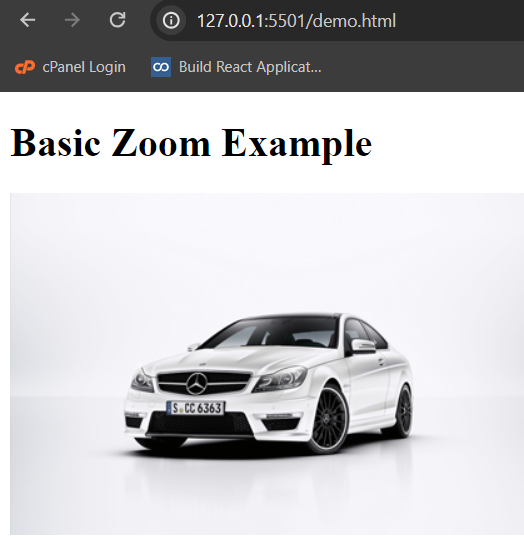
<h1>Basic Zoom Example</h1>
<img id="zoom_01" src='images/small/image1.png' data-zoom-image="images/large/image1.jpg" />
<br />
<script>
$(document).ready(function () {
$('#zoom_01').elevateZoom({
zoomType: "window",
cursor: "zoom-in",
zoomWindowFadeIn: 600,
zoomWindowFadeOut: 750,
zoomWindowPosition: 1,
zoomWindowOffetX: 20,
zoomWindowOffetY: 0,
easing: true,
scrollZoom: true,
responsive: true,
});
});
</script>
</body>
</html>Open your HTML file in a web browser and test the ElevateZoom effect. Check the browser's console for any errors.
The image below is displayed in its default, unaltered state.
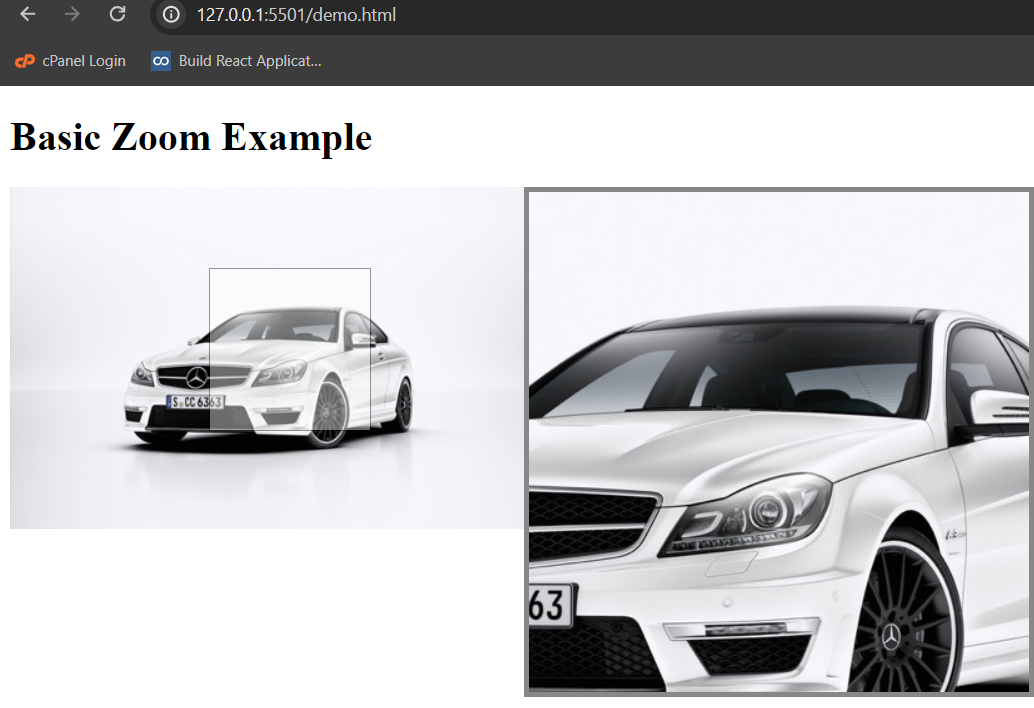
The attached below image illustrates the output of the Elevated Zoom plugin, showcasing the magnification and visual enhancements applied to the image, including features such as a zoom window, border, lens, and other customizable options configured through the plugin parameters.
Elevated zoom effect working code is available in the github repo.