Setup and Configure KeyCloak - Open Source Identity and Access Management

Keycloak is an open source identity and access management system which offers both administrator and account management consoles for centralized management. Users can manage their profiles and active sessions using the account management console, while administrators can configure Keycloak fully. Keycloak provides user federation, strong authentication, user management and fine-grained authorization. It also integrates with existing LDAP or Active Directory servers. A number of other features are also supported, including SSO and customization of authentication flows. As part of the standard protocols, it supports OpenID Connect (OIDC, based on OAuth2.0), OAuth2.0, and SAML 2.0. OIDC is recommended and it is widely used, well documented, and very well supported by the community.
Features Of Keycloak
Support for multiple protocols
A majority of Keycloak's protocols support OpenID Connect, OAuth 2.0, and SAML 2.0.
SSO
With Keycloak, you can login and log out using single sign-on.
Admin Console
Keycloak provides a web-based GUI where you can configure your instance according to your preferences.
User Identity and Access
With Keycloak, we can create a user database with custom roles and groups and manage identity and access. By using this information, we can authenticate users within our application and secure parts of it based on predefined roles.
Identity Brokering
It can act as a proxy between your users and an external identity provider. Lists can be edited from the Keycloak Admin Panel.
Social Identity Providers
The key feature of Keycloak is that it allows us to use Social Identity Providers. It supports Facebook, Google, Twitter, and Stack Overflow. However, it must be manually configured from the admin panel. The Keycloak documentation includes a full list of supported social identity providers and their configuration instructions.
Pages Customization
This allows you to customize all pages displayed by its users. The pages are in .ftl format, so you can use classic HTML markups and CSS styles to make them fit your application style. Custom JS scripts can also be used to customize the page.
Download and Configure Keycloak
Step 1
Keycloak's latest version can be downloaded here
Step 2
To start keycloak server, open the command prompt, navigate to the bin folder in keycloak, and type the following command
kc.bat start-dev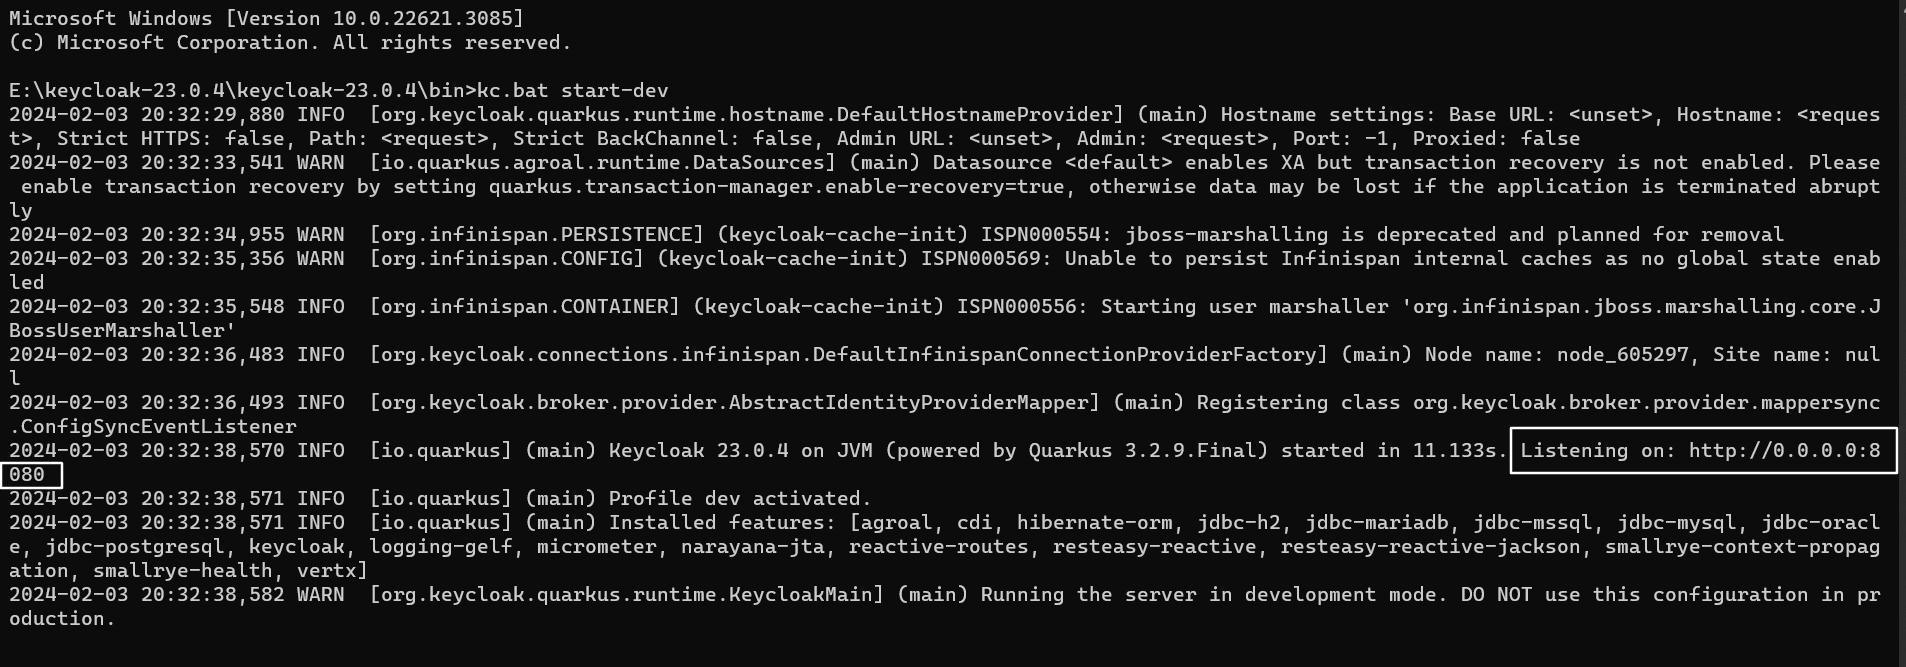
Step 3
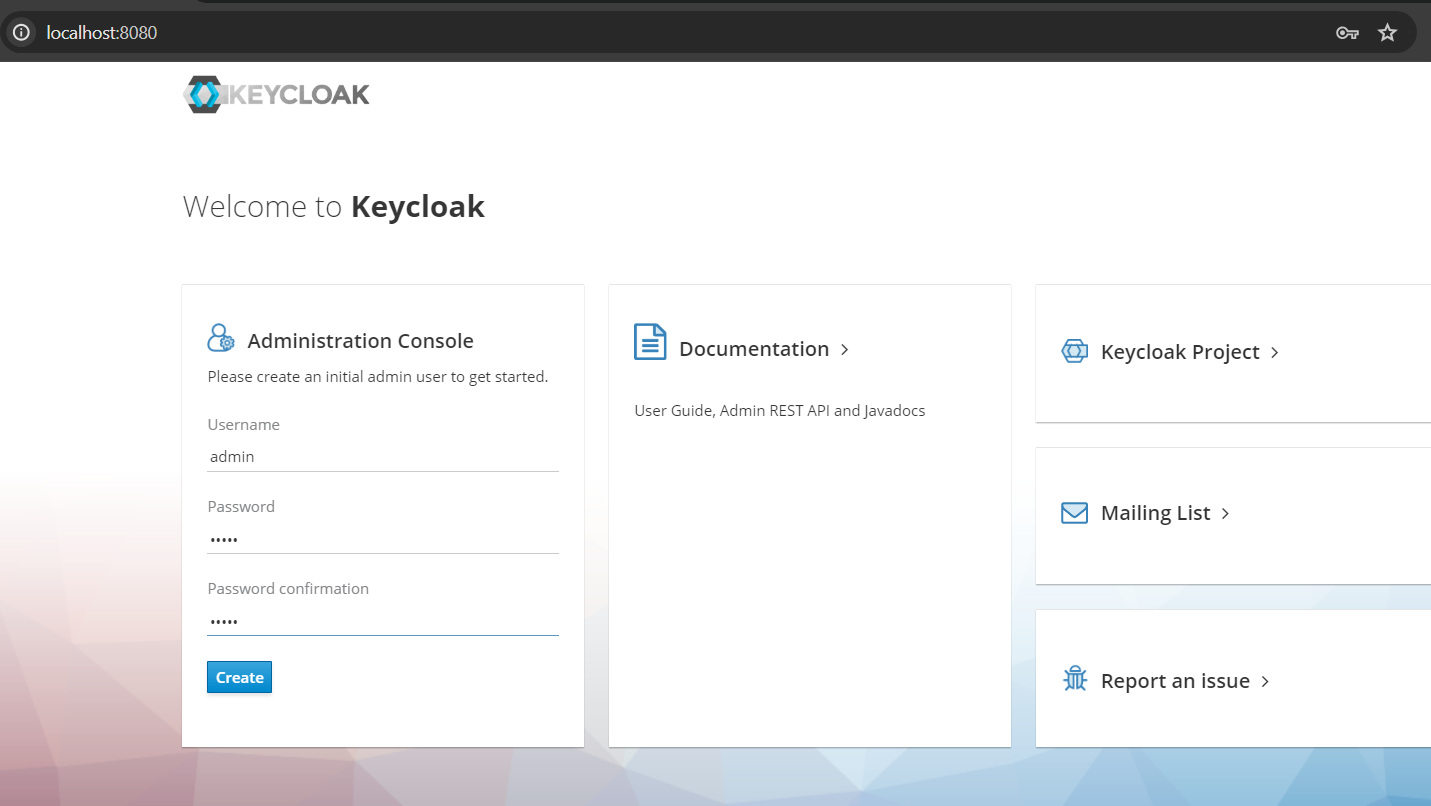
Enter localhost:8080 in your browser to bring up the keycloak screen and create an administrator account.
Step 4
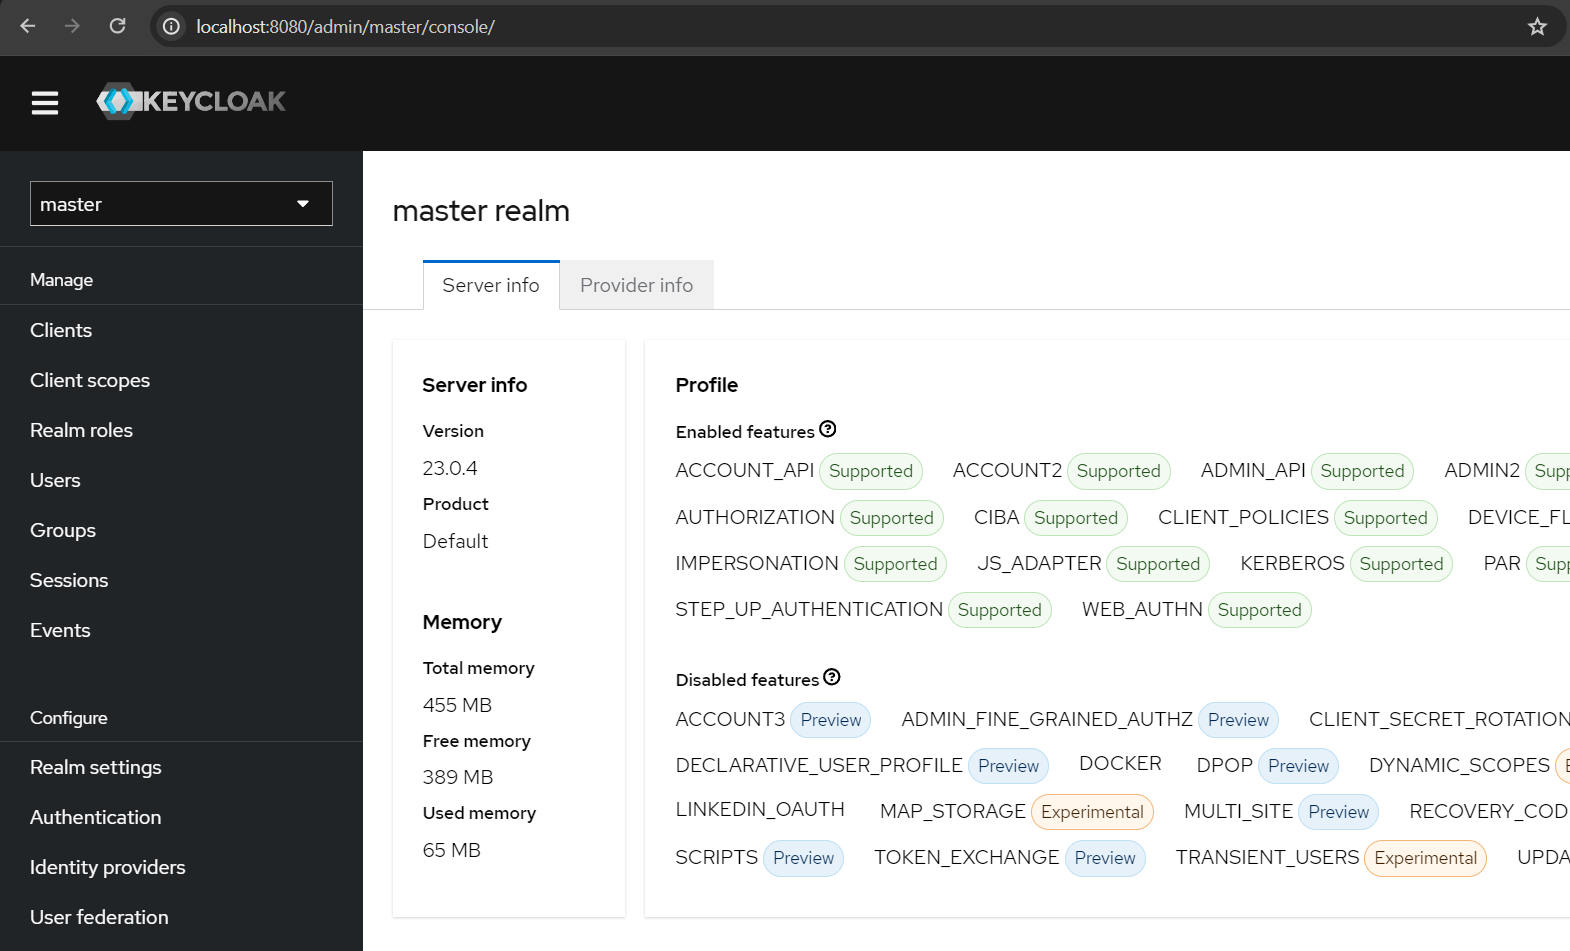
Login into keycloak using the newly created admin credentials
Step 5
After successfully logging in, Below landing page will be displayed. Our next job is to create a realm
Step 6: Creating Realm in Keycloak
A realm is a management entity that manages users, their credentials, roles, and groups. A user belongs to a realm and logs in there. Keycloak realms are security and administrative domains where users, applications, and roles are managed. It's the way Keycloak organizes resources, permissions, and configurations. Let's see how to create a Realm in Keycloak.
Step 6.1: Click the Create Realm option from the Master menu
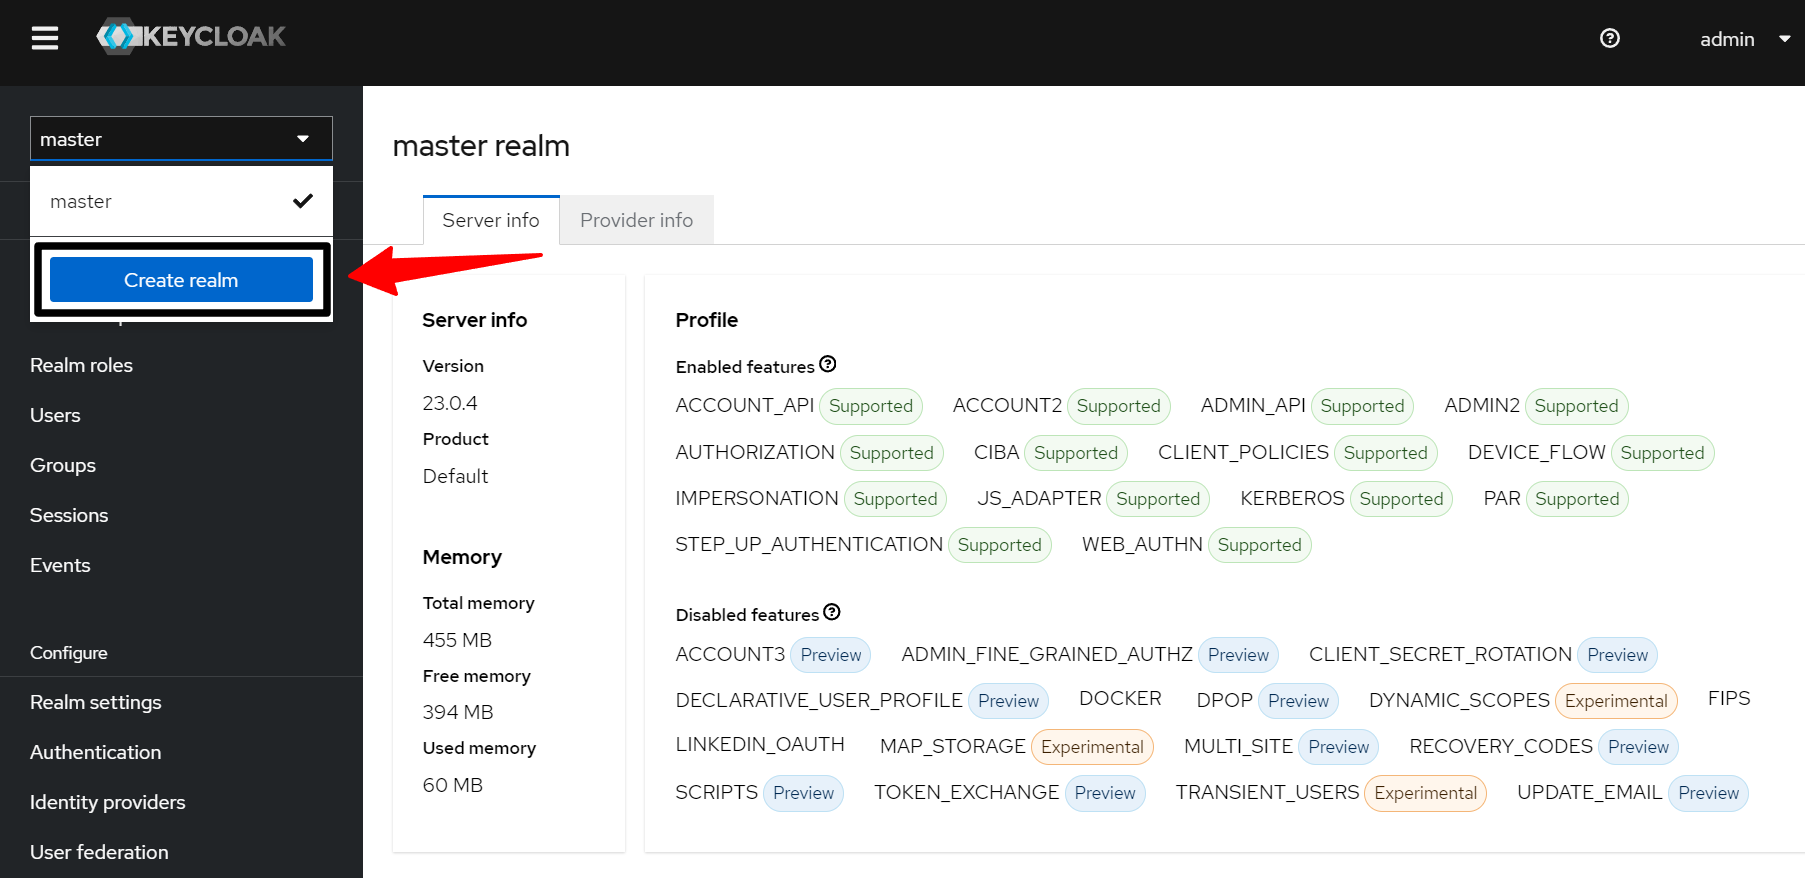
Step 6.2
Enter the realm name and click the Create button. It is recommended that you do not use the master realm and instead create your own.

Step 7: Creating Client in Keycloak
Keycloak clients are applications or services that interact with the Keycloak server for authentication and authorization. Any application that needs to authenticate and authorize its users, whether it is a web application, a mobile application, or a server-side API, can be used. Here's how to create a Keycloak client.
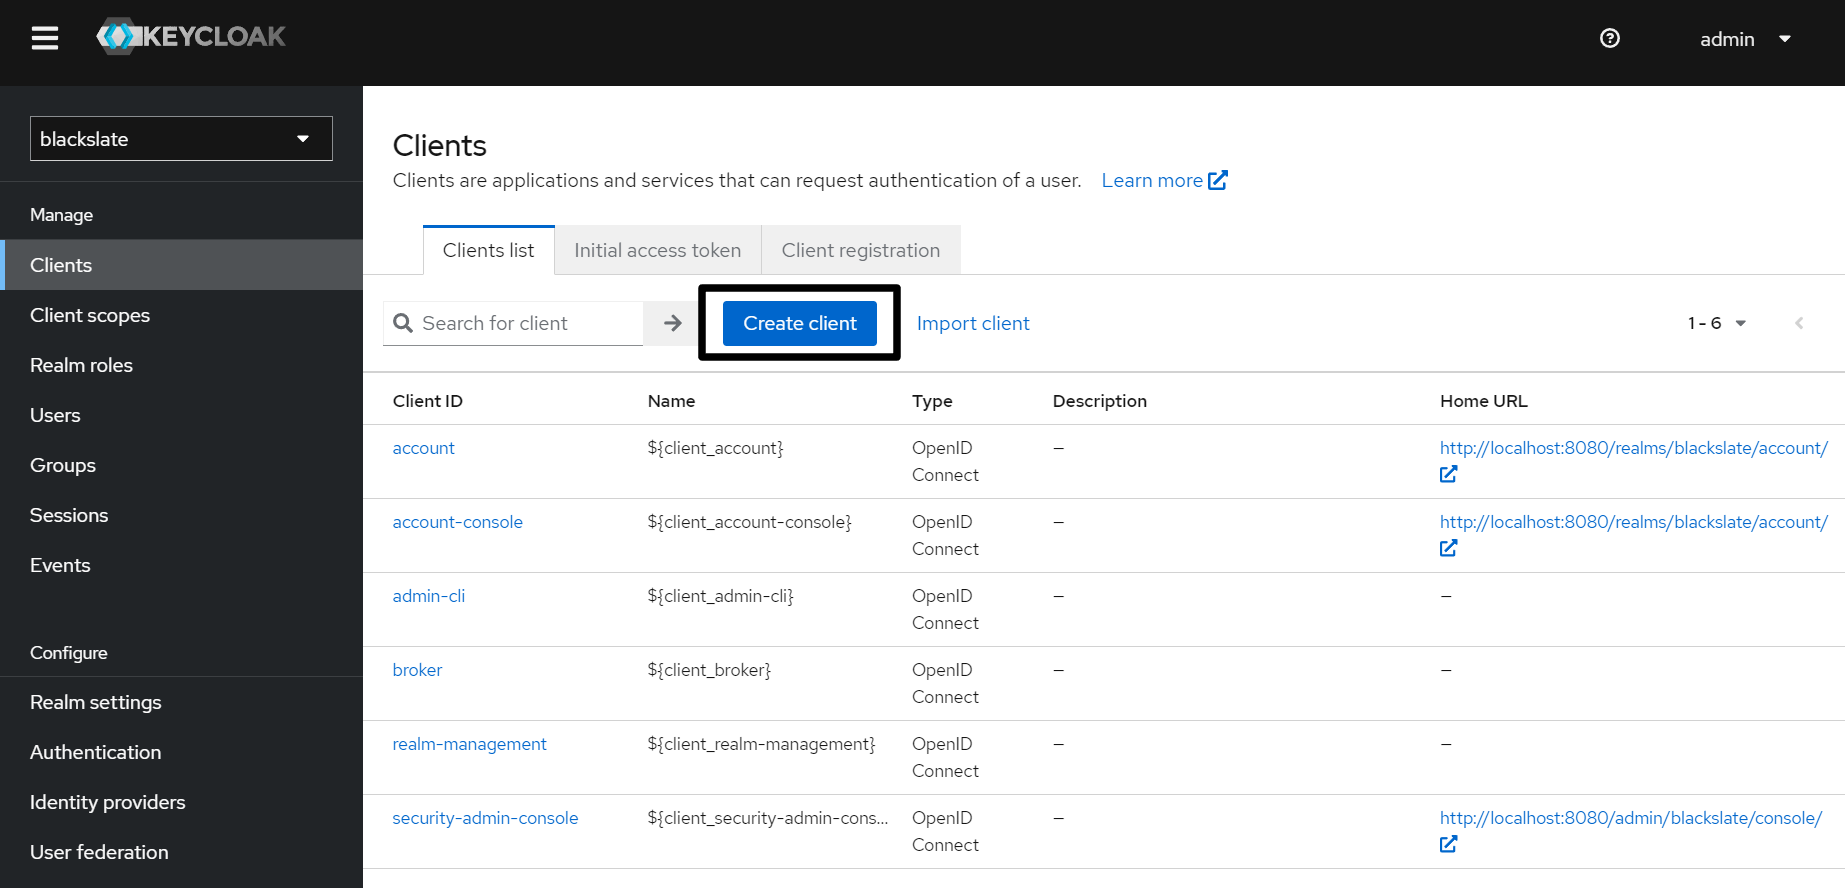
Step 7.1
Click the Create Client button on the Clients menu in the left pane to create a new client. Choose your realm instead of the Master realm.
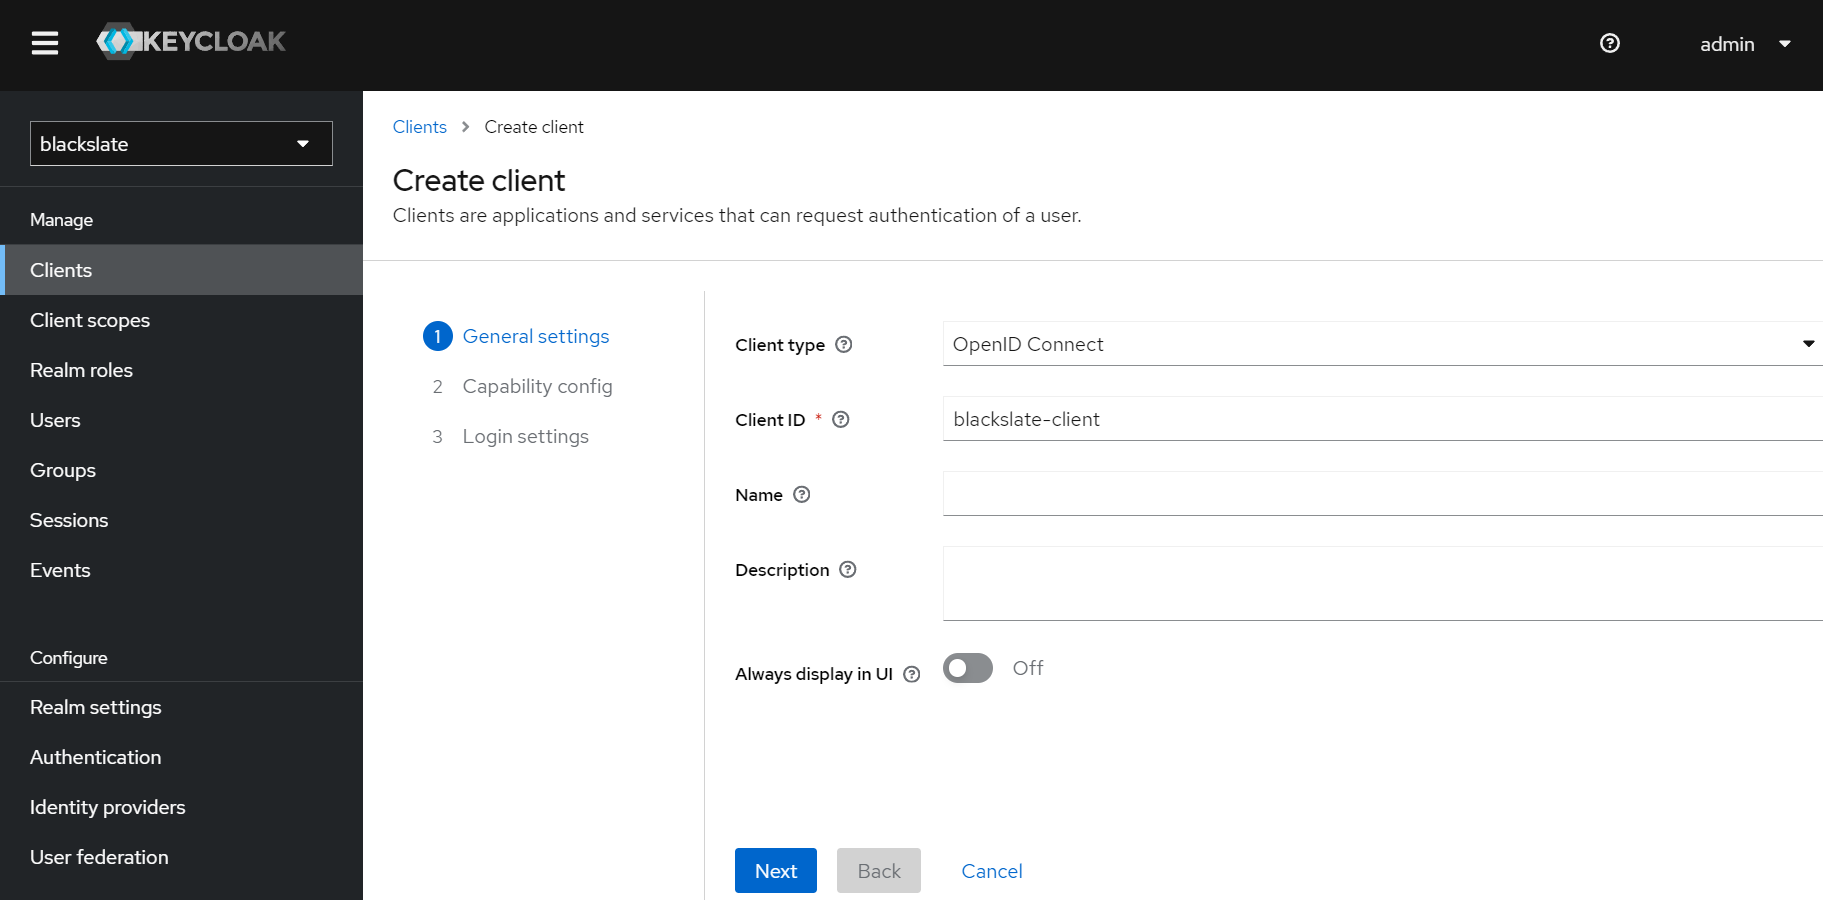
Step 7.2
Next, you will be prompted to enter a Client type, Client ID, and other basic information. Keep the client type the same as OpenID Connect. The client can be named and described as you wish.
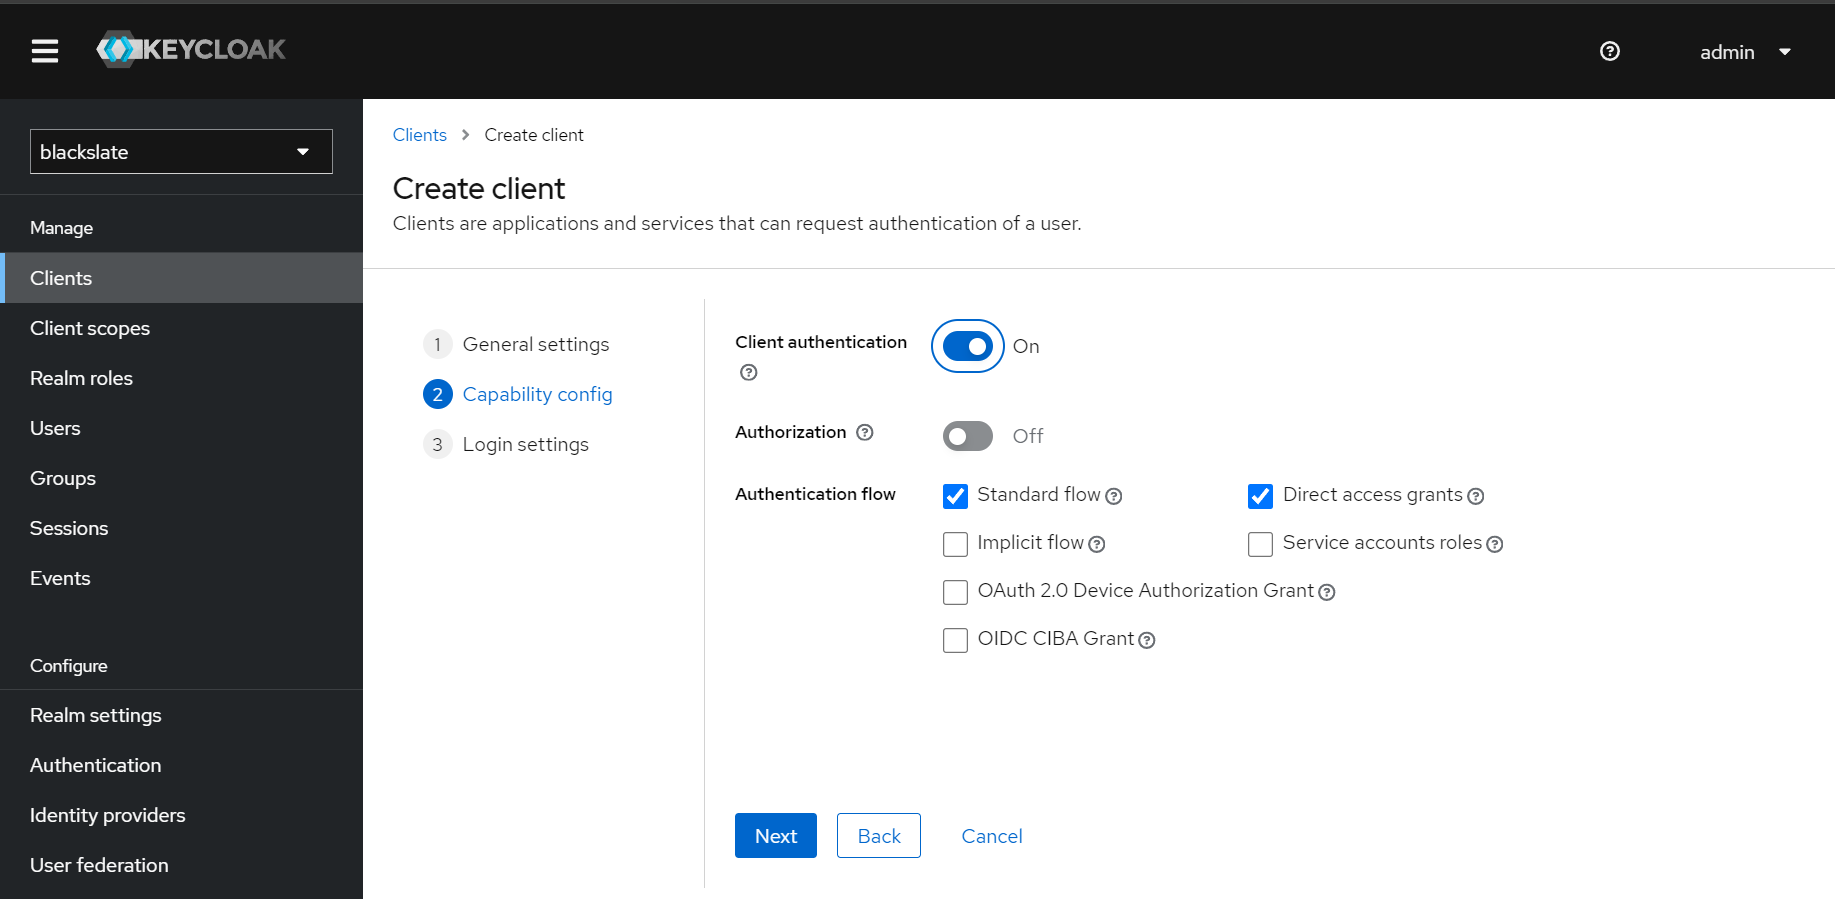
Step 7.3
In the Capability configuration, keep the default configuration and toggle the client authentication button Then click next.
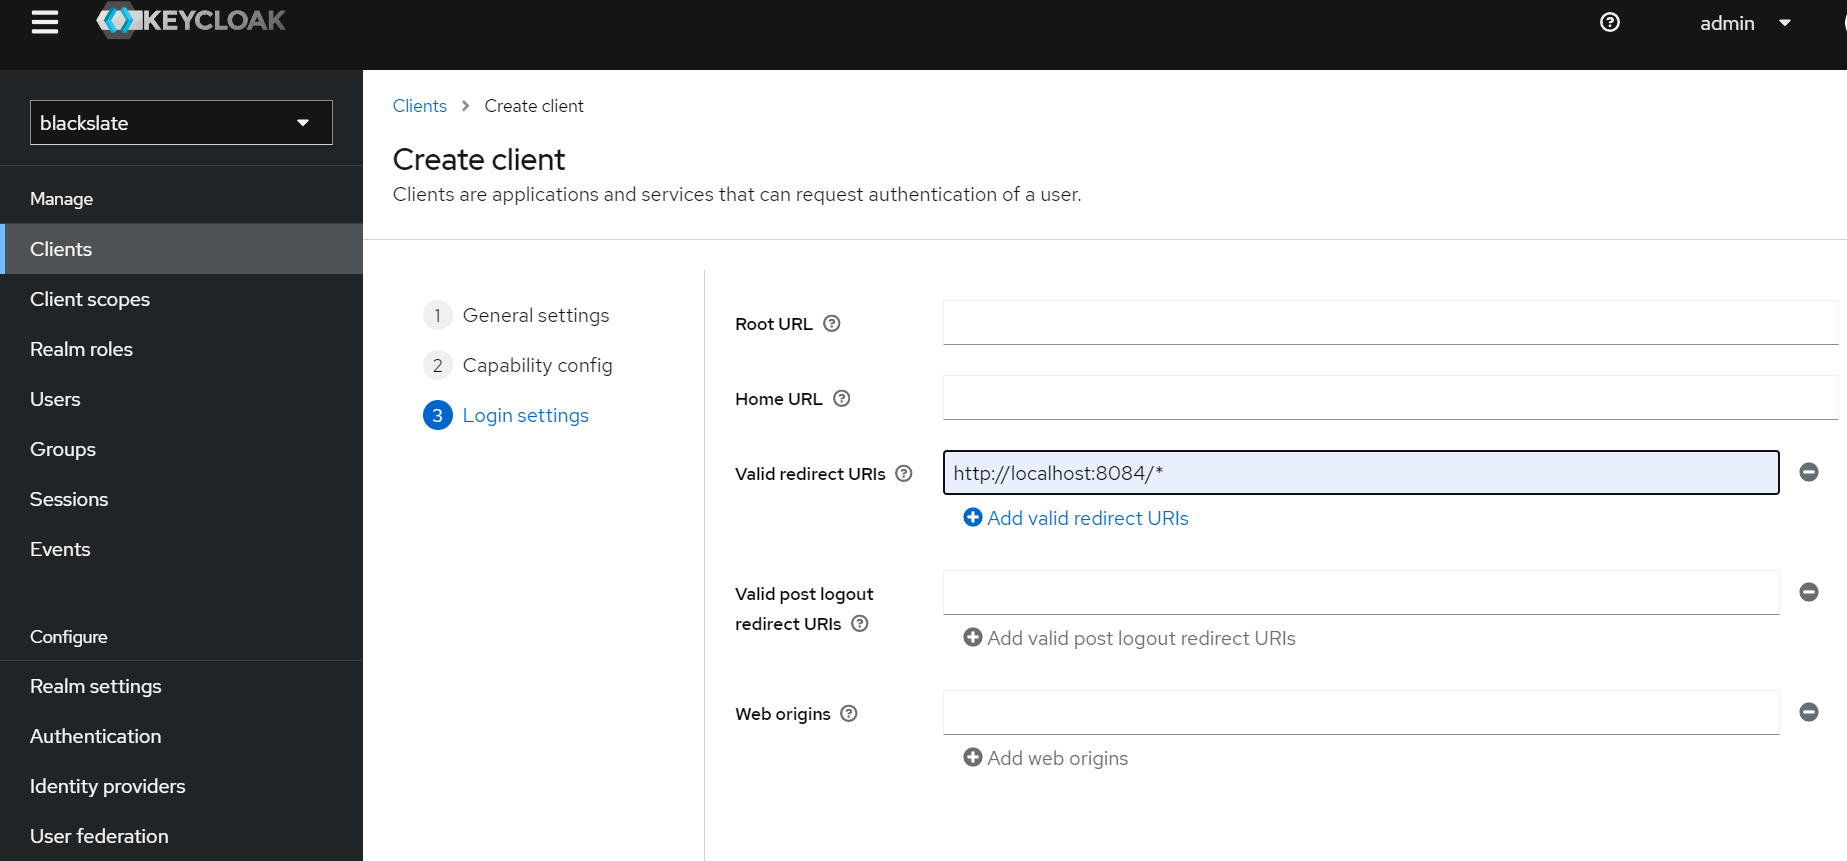
Step 7.4
In the Login settings, you will need to specify Valid Redirect URIs. Your application's port must be provided here. Do not provide 8080 since Keycloak runs on this port.
Step 8: Creating Roles in Keycloak
In Keycloak, roles define and manage permissions and access levels for users and clients. By using roles, you can specify what users or clients can do within your system, allowing you to control and enforce authorization policies. Keycloak has two main types of roles:
Realm Roles: A realm's roles are defined at the realm level and are accessible to all clients within that realm. Typically, realm roles apply global permissions to all applications within a realm. The realm level allows you to create roles such as "admin," "user," and "manager."
Client Roles: Roles are specific to individual client applications within the realm. Roles define access permissions specific to each application for each client. As an example, you might have roles at the client level for social media applications such as "post", "comment"
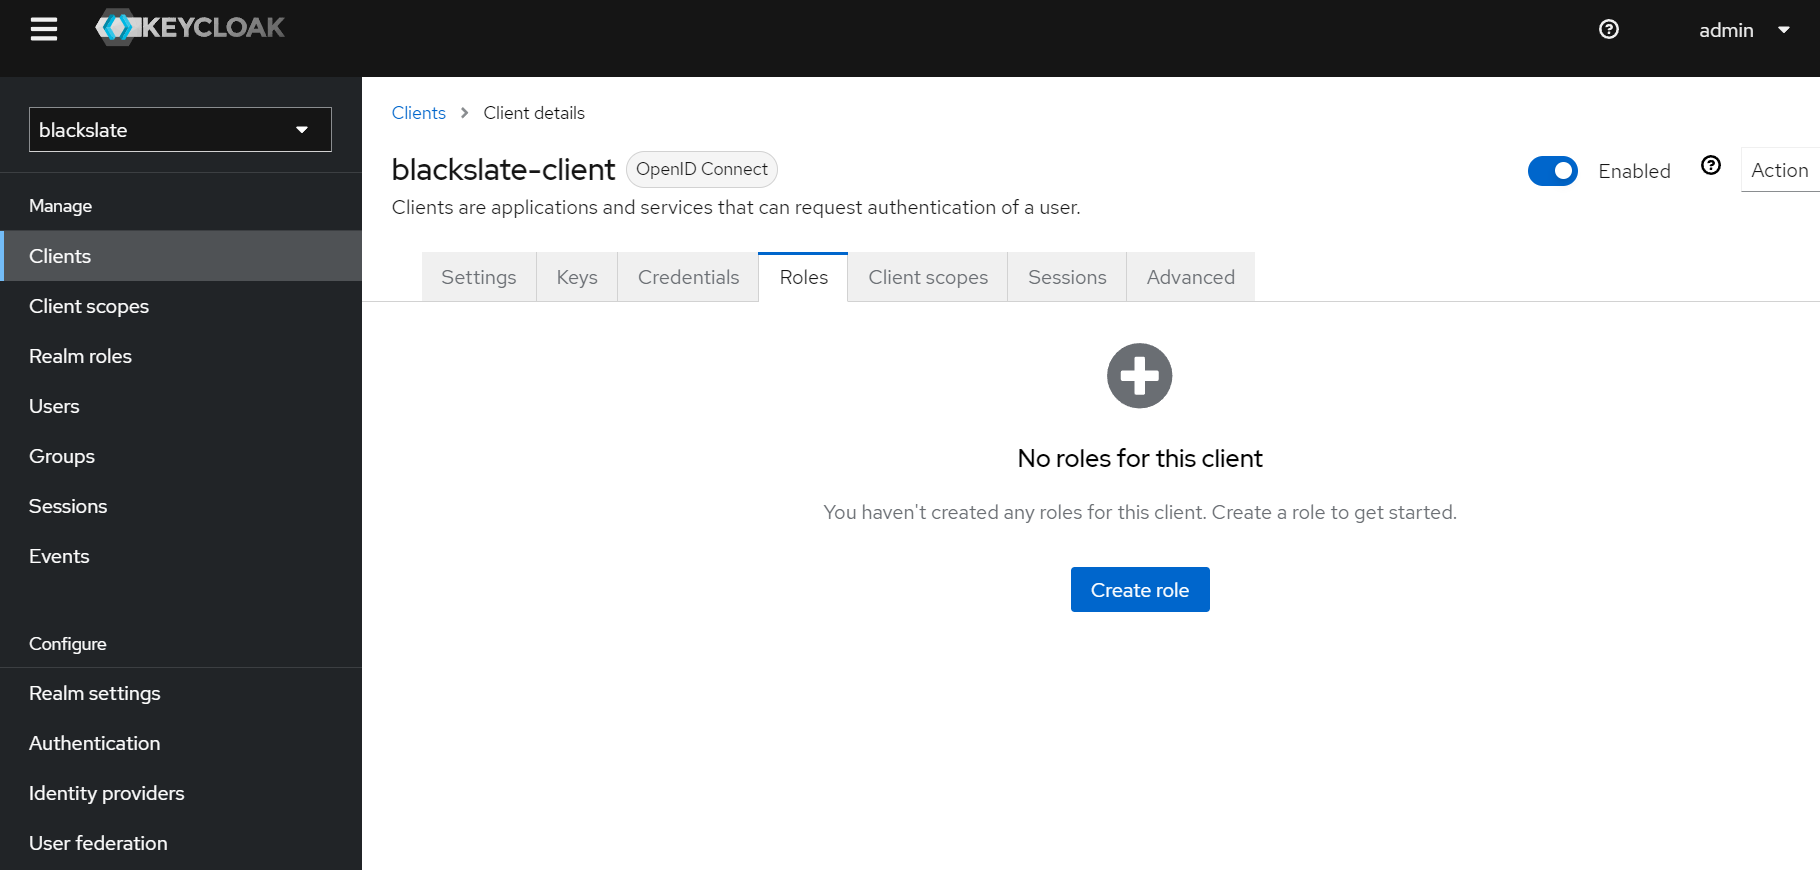
Step 8.1
From the left panel, navigate to clients to create a new Client Role. Select the client already created, Click Roles and then click Create role.
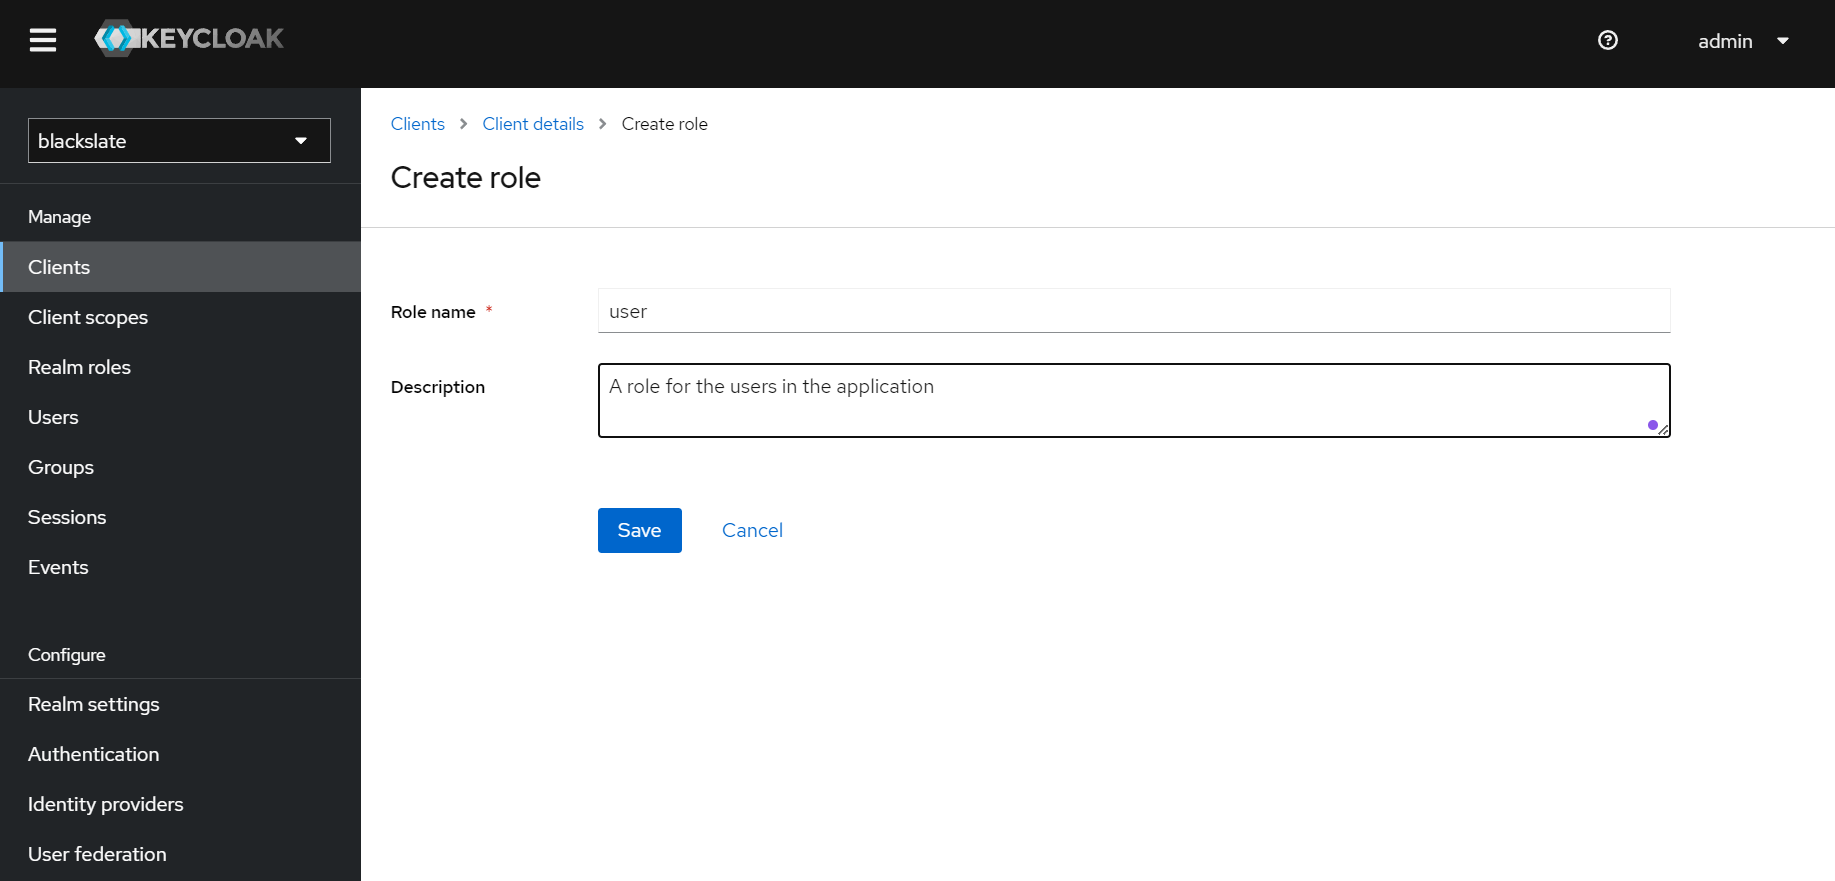
Step 8.2
Provide the role name on the next screen.
Step 9: Creating a User in Keycloak
Keycloak users represent individual entities that can authenticate and interact with the server. A Keycloak user can either be an individual who needs access to an application or service secured by Keycloak or an administrator who manages the realm's configurations and applications.
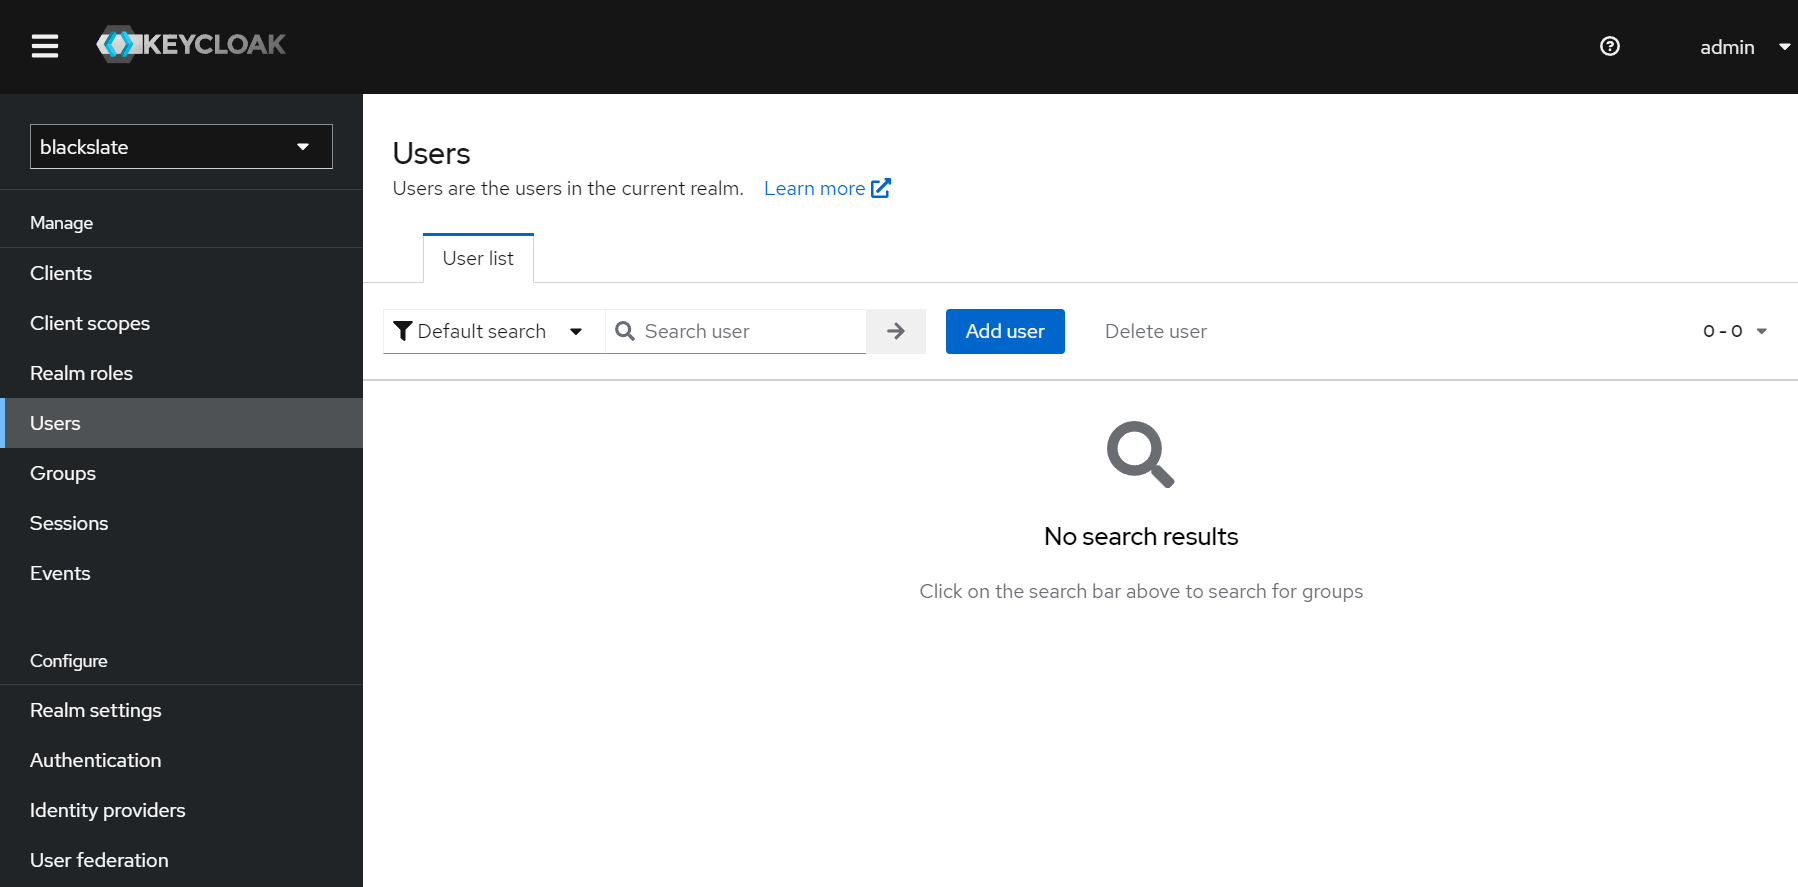
Step 9.1
Click the Add user button on the Users page.
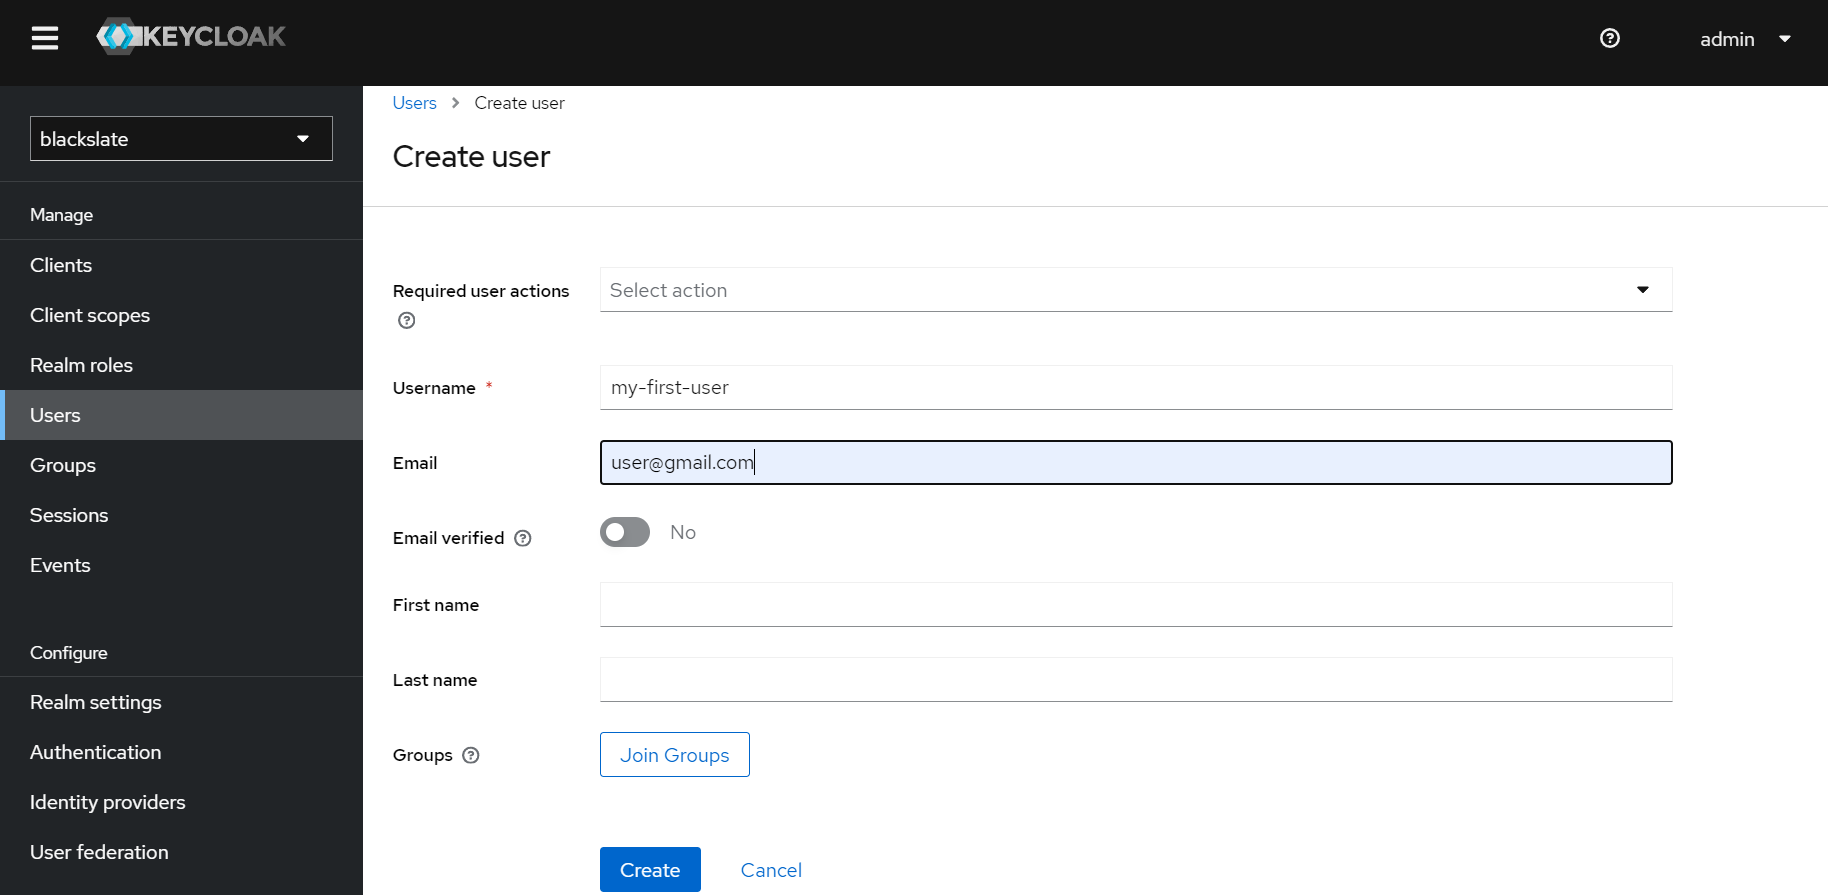
Step 9.2
Enter the required information for a User and click Create.
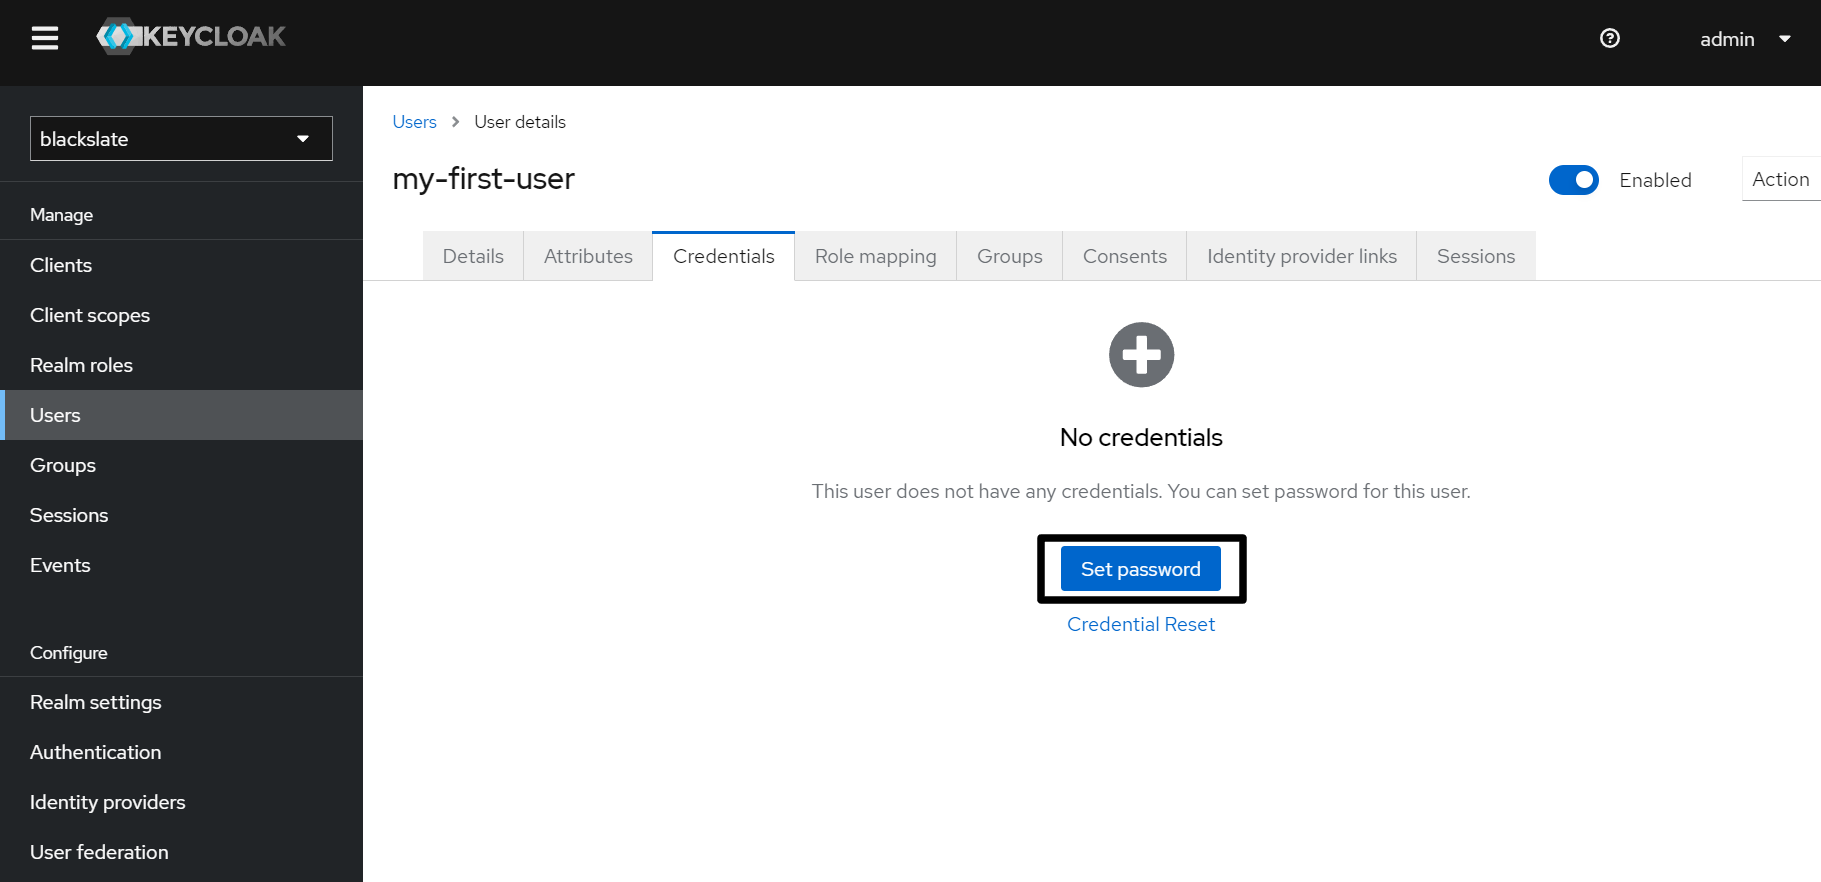
Step 9.3
The next step is to set a password for the user. Click the Set password button on the Credentials tab.
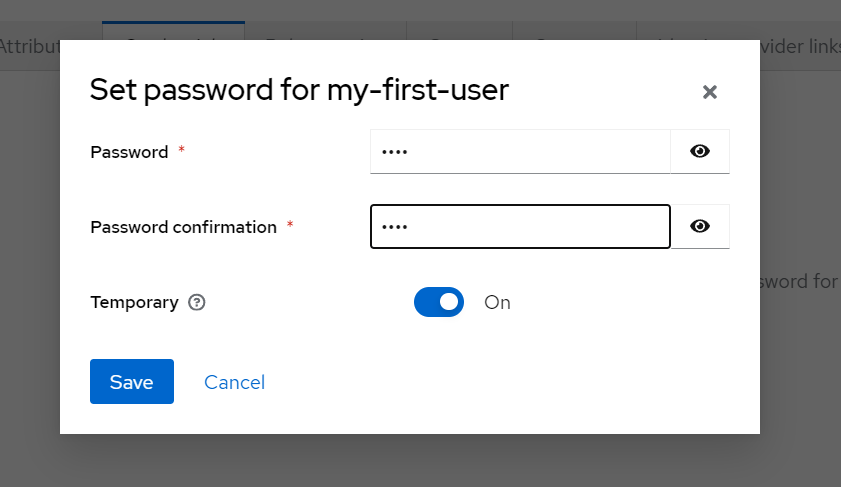
Step 9.4
Set the password and click save
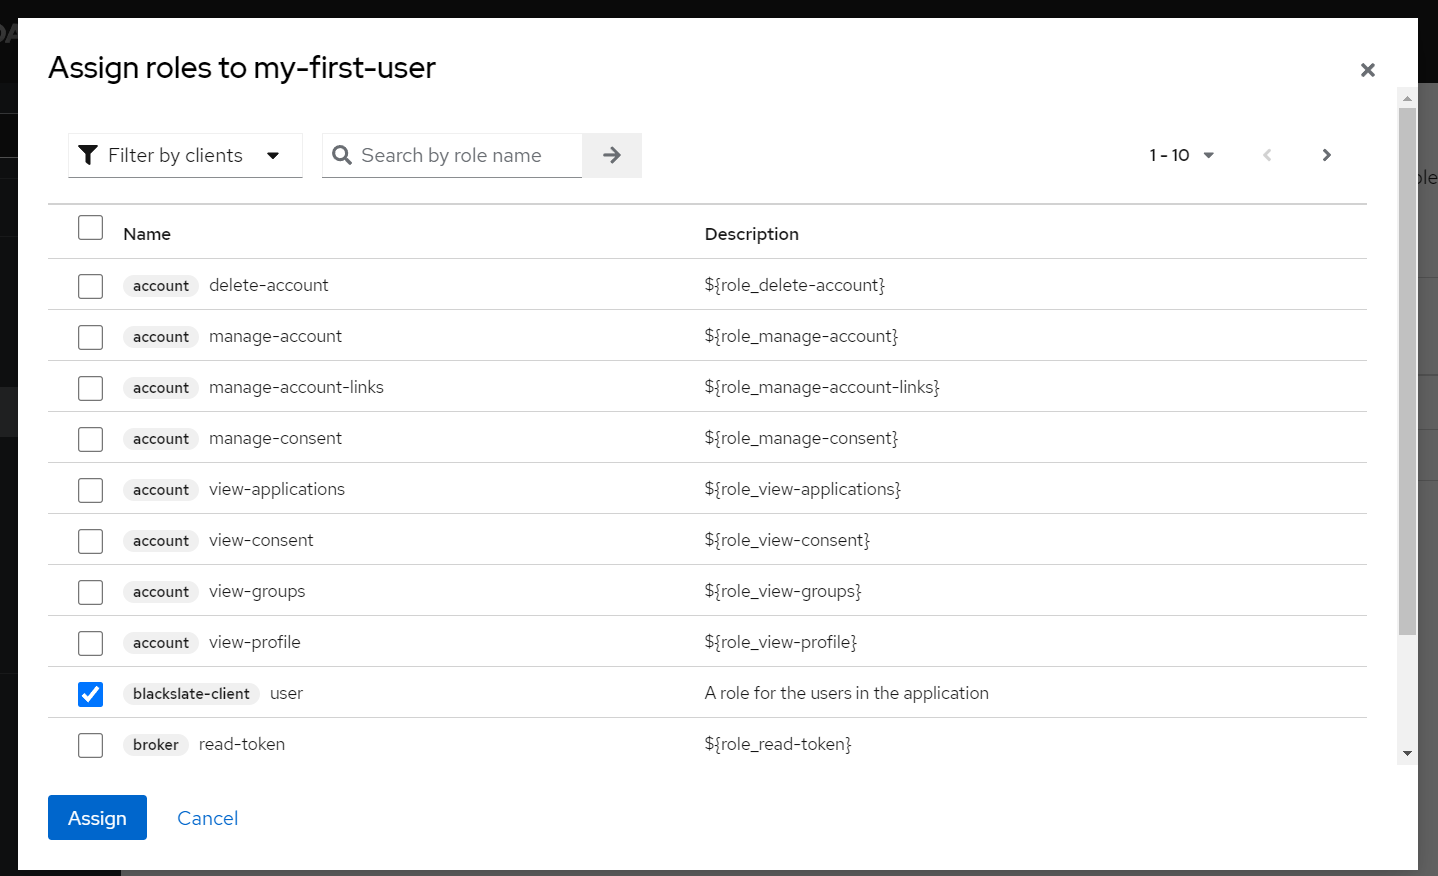
Step 9.5
The next step is to assign a role to the user.The client roles list will now appear in the table. Click Assign to map the required role to the user.
Conclusion
Keycloak is a powertool to manage users and identity management. In this article, we covered about how to setup, configure Realm, Client, Users and roles.
keep Learning, Keep Growing !